
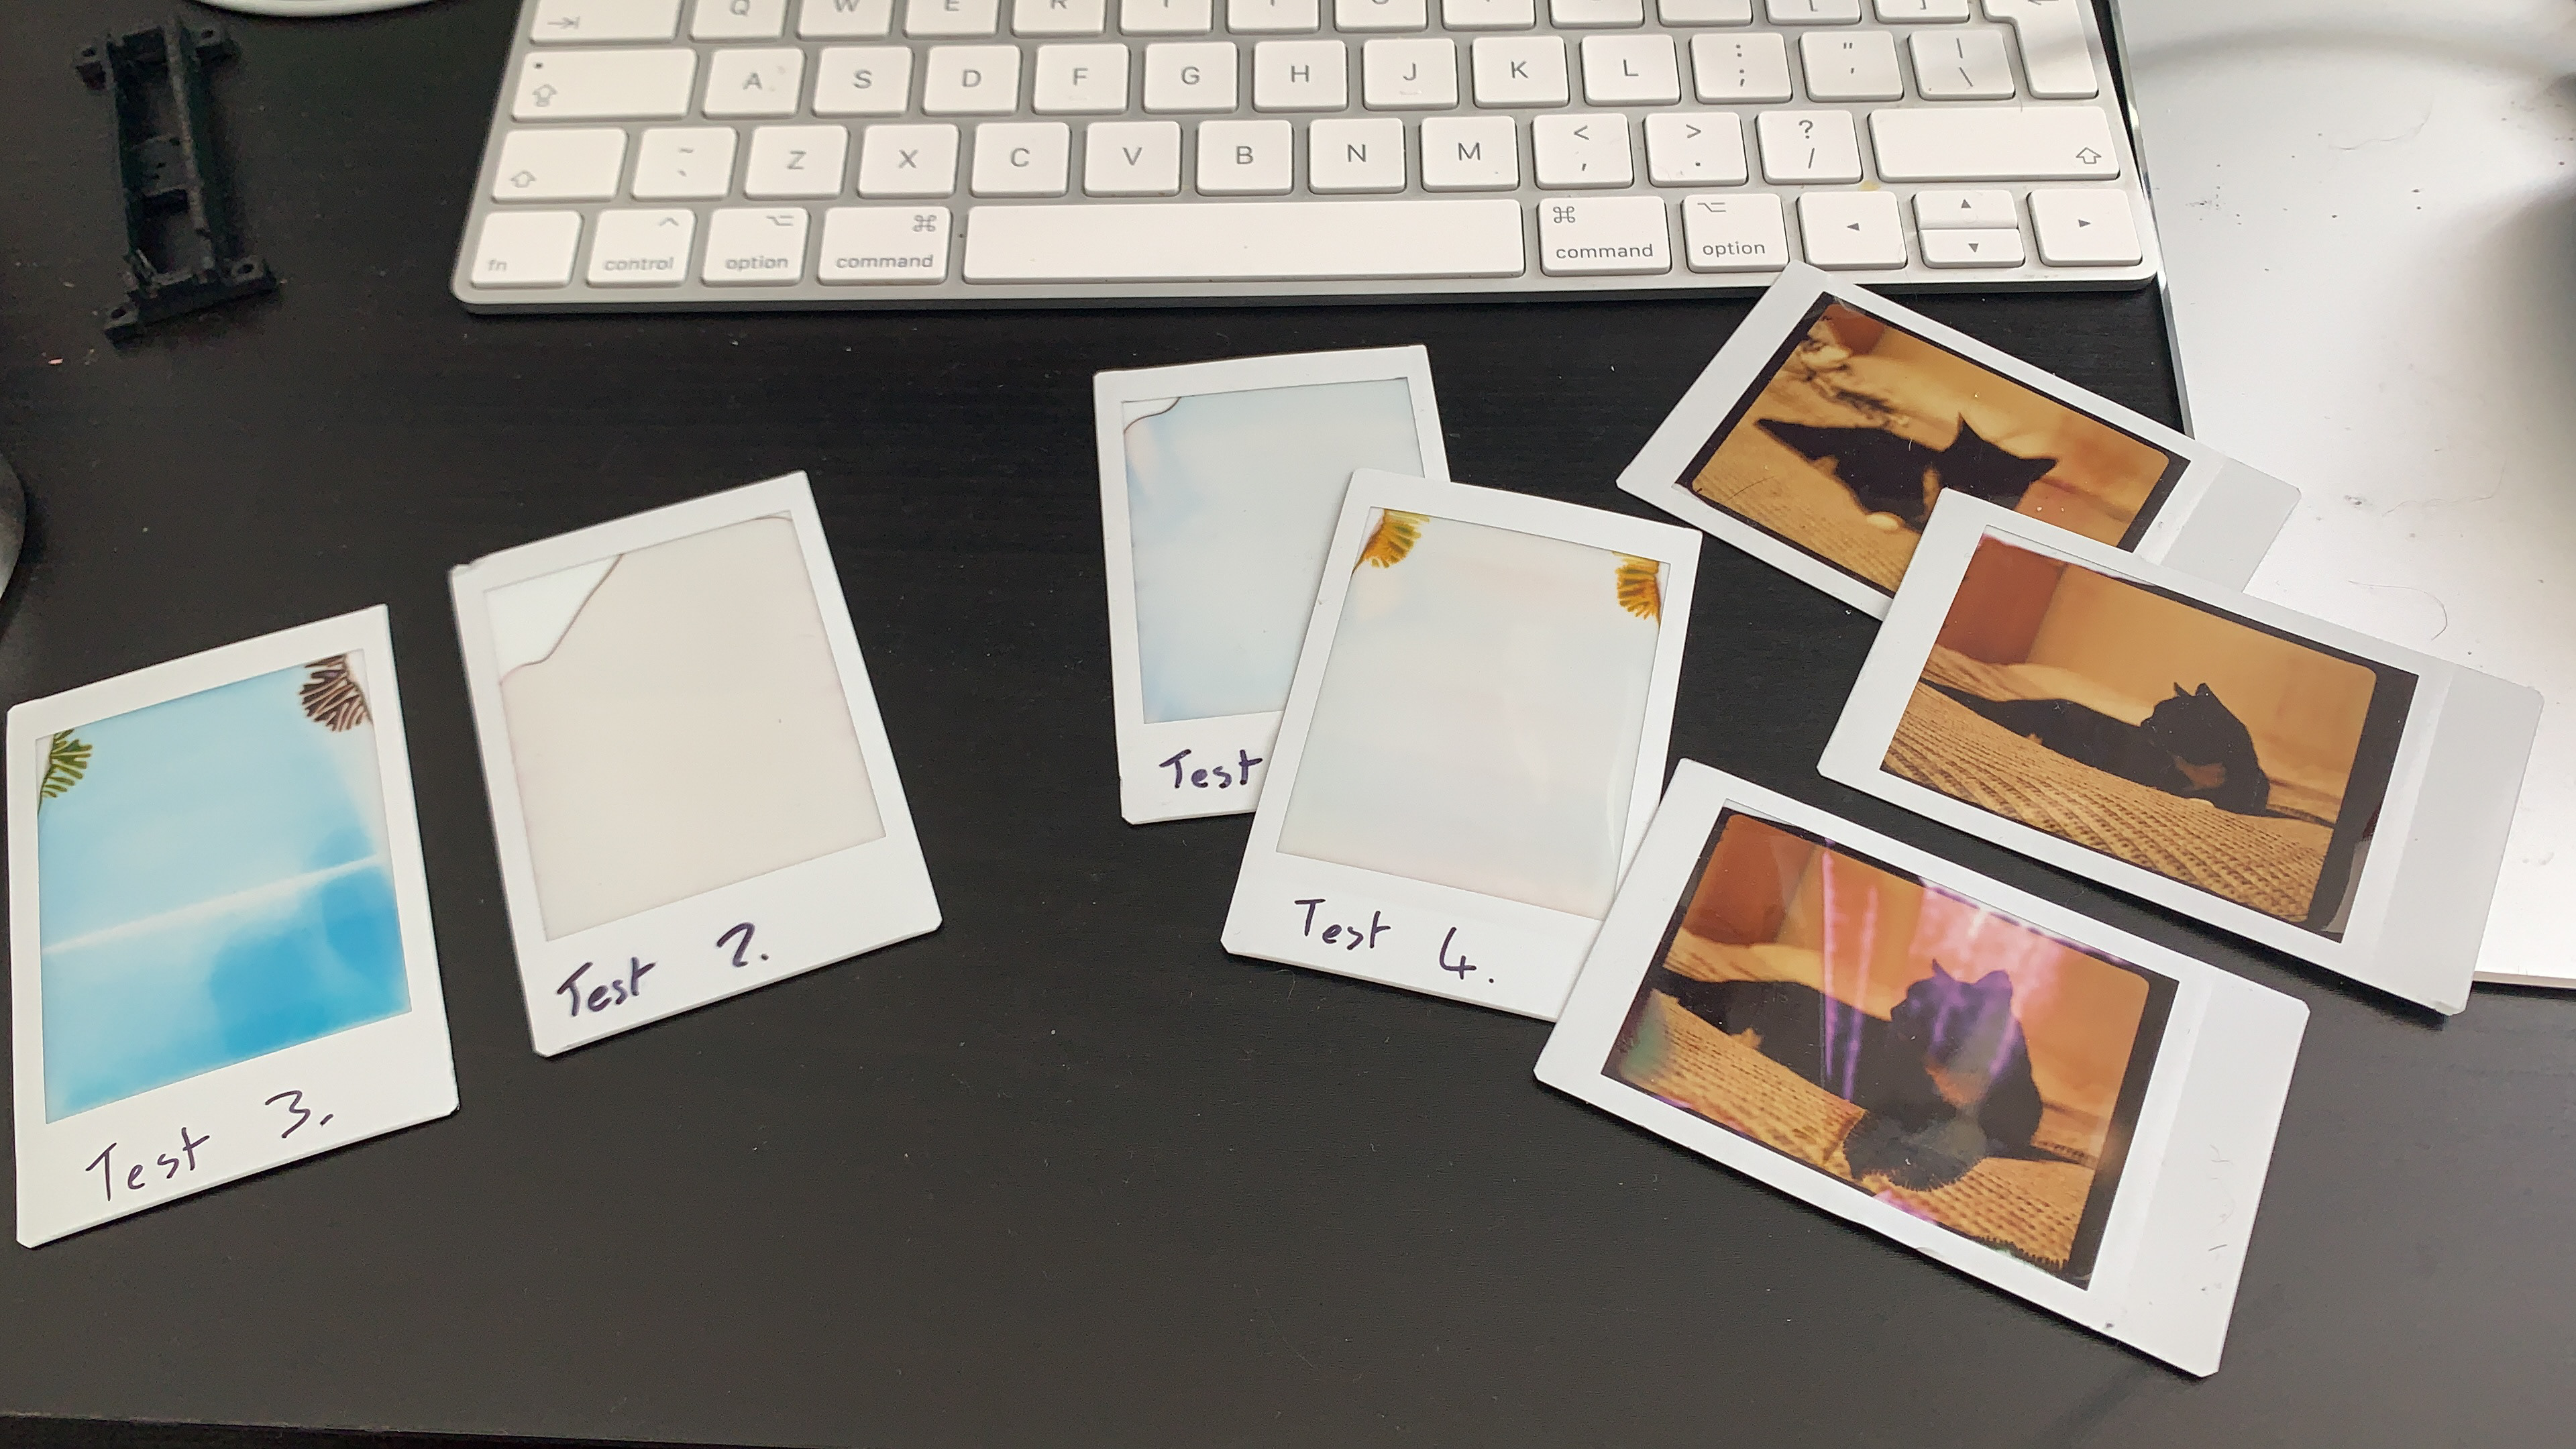
Latest Images
I have always loved instant photography, and even in our world in of instant digital photography, it's still close to magic how a piece of film can develop before your eyes into a physical image. You can check out some of my instant shots over on my photography tab.
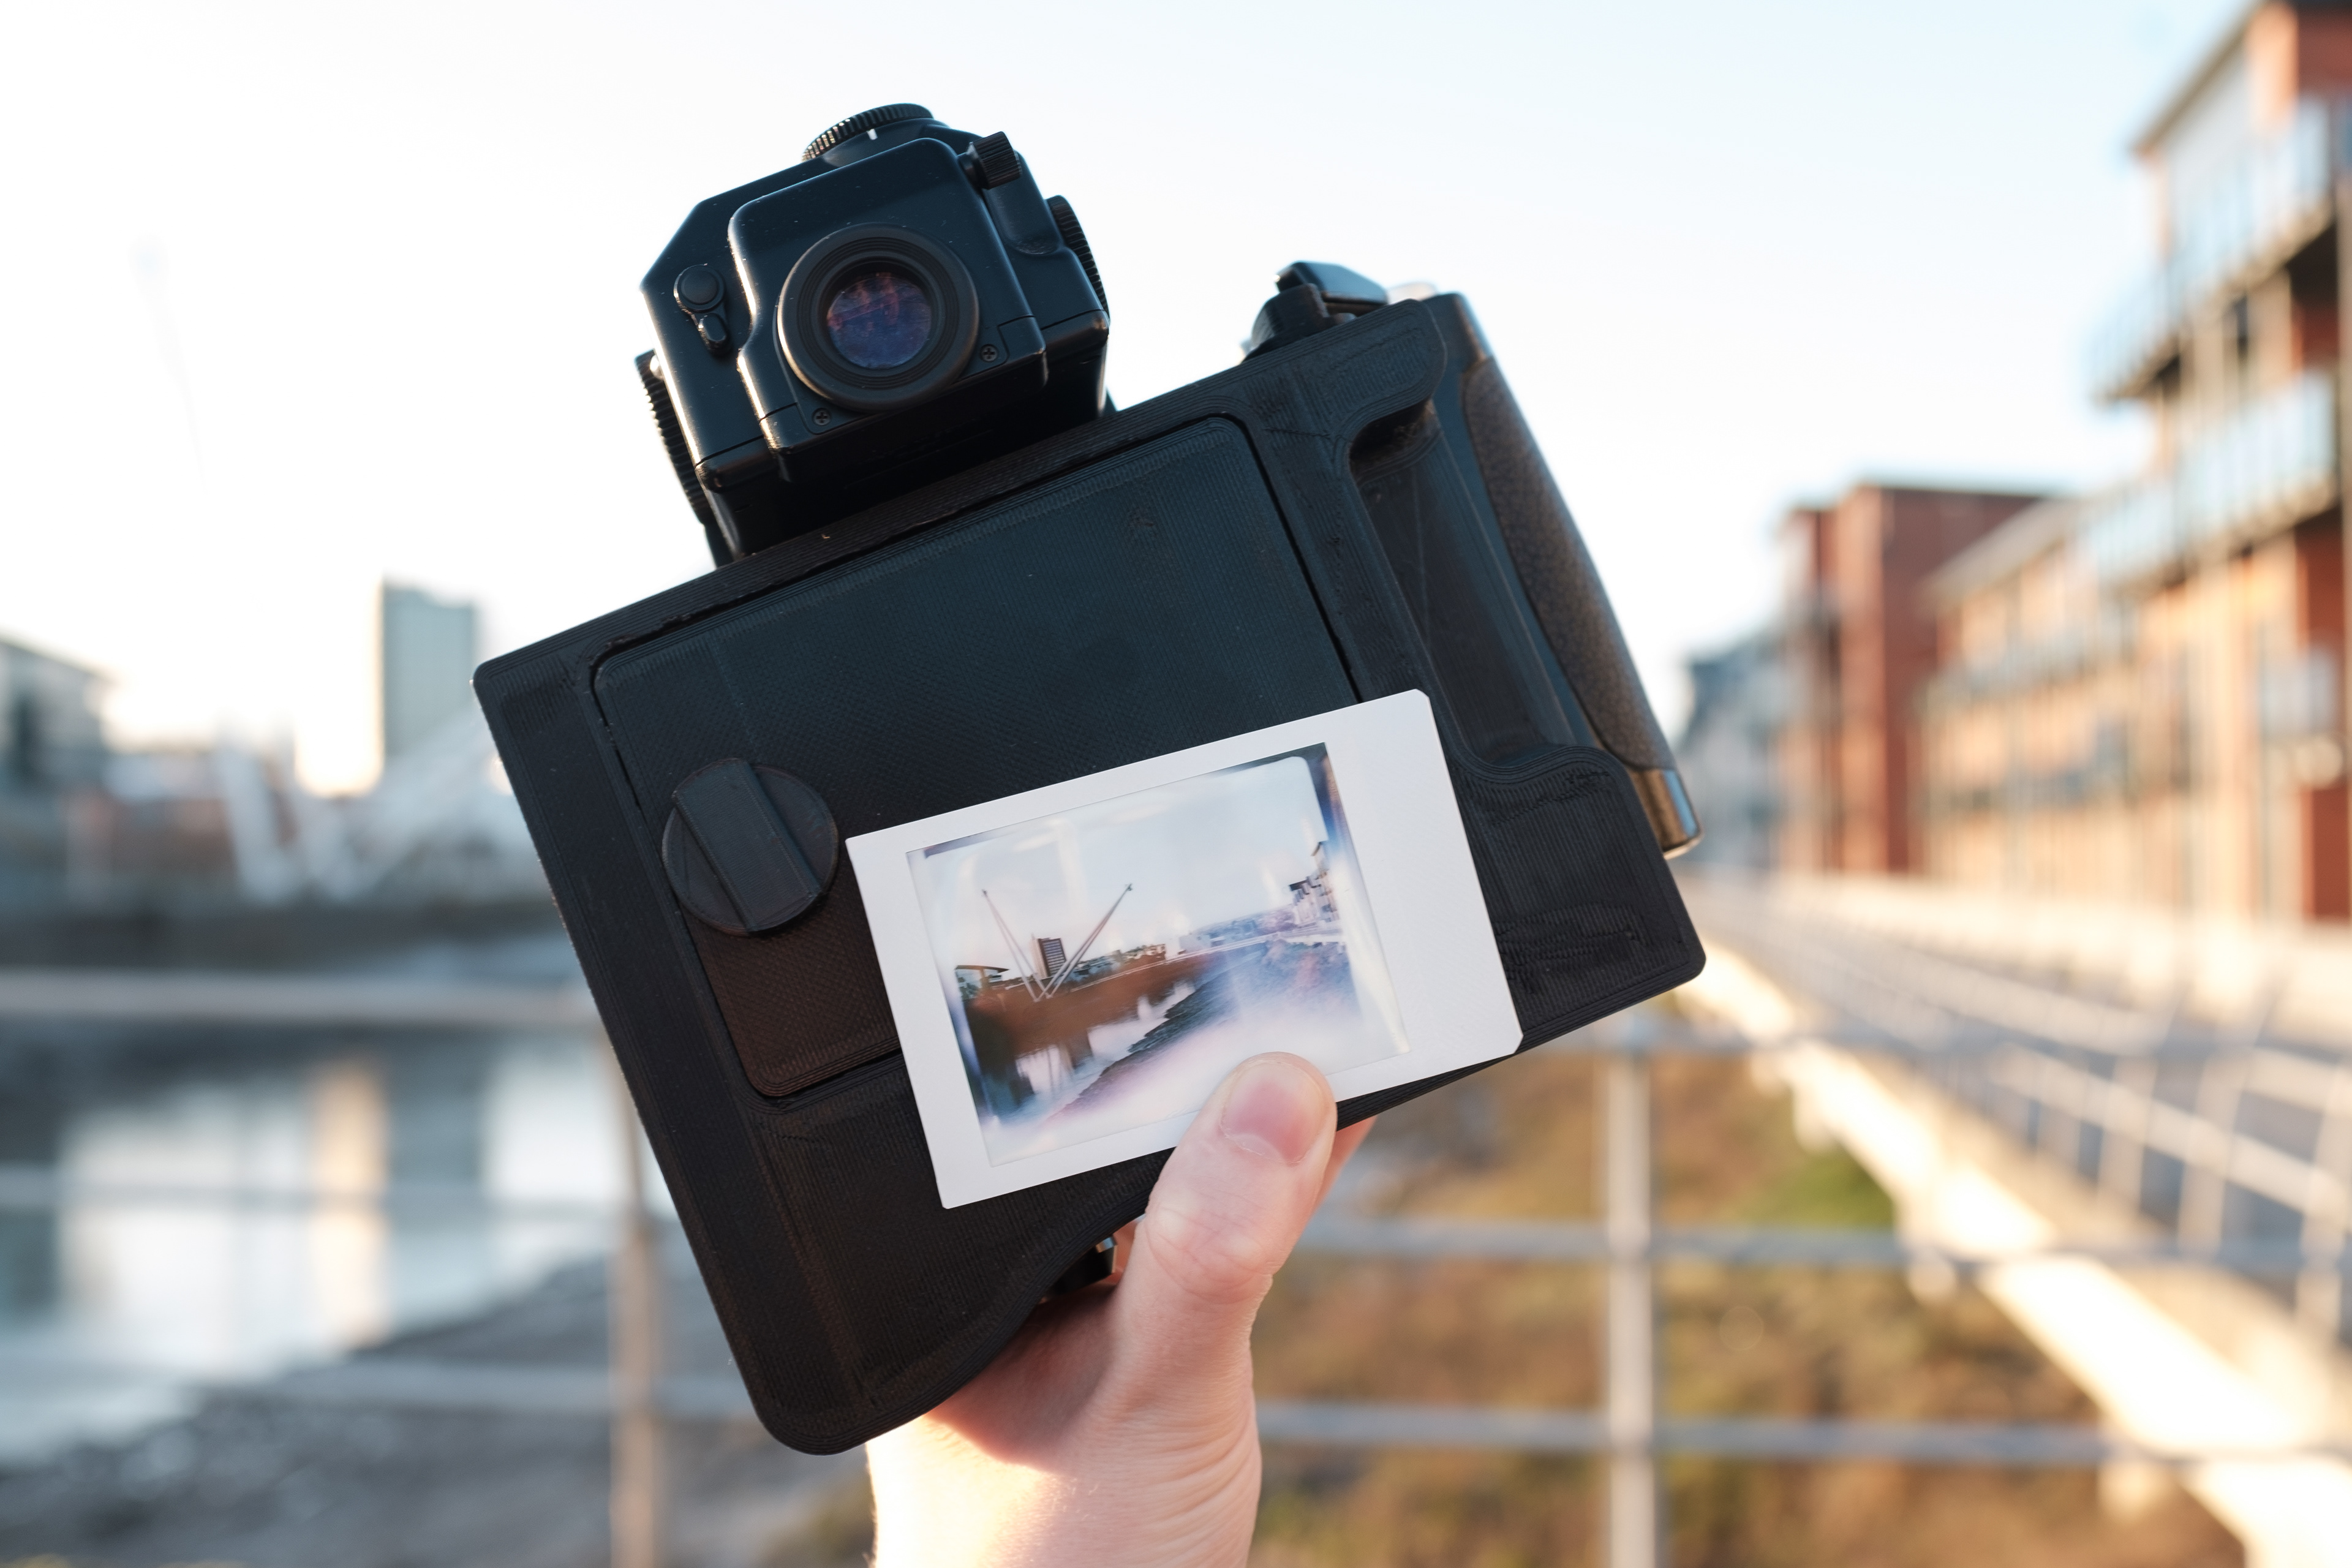
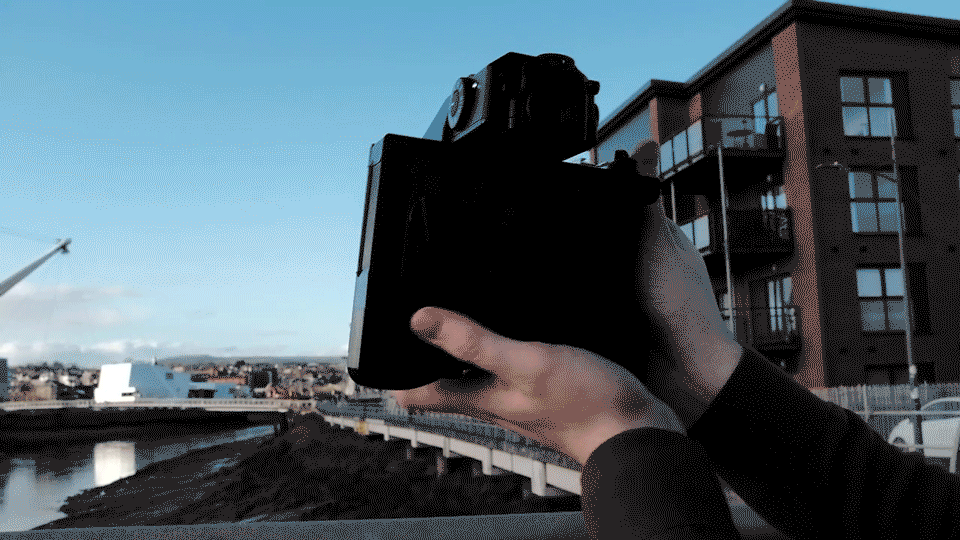
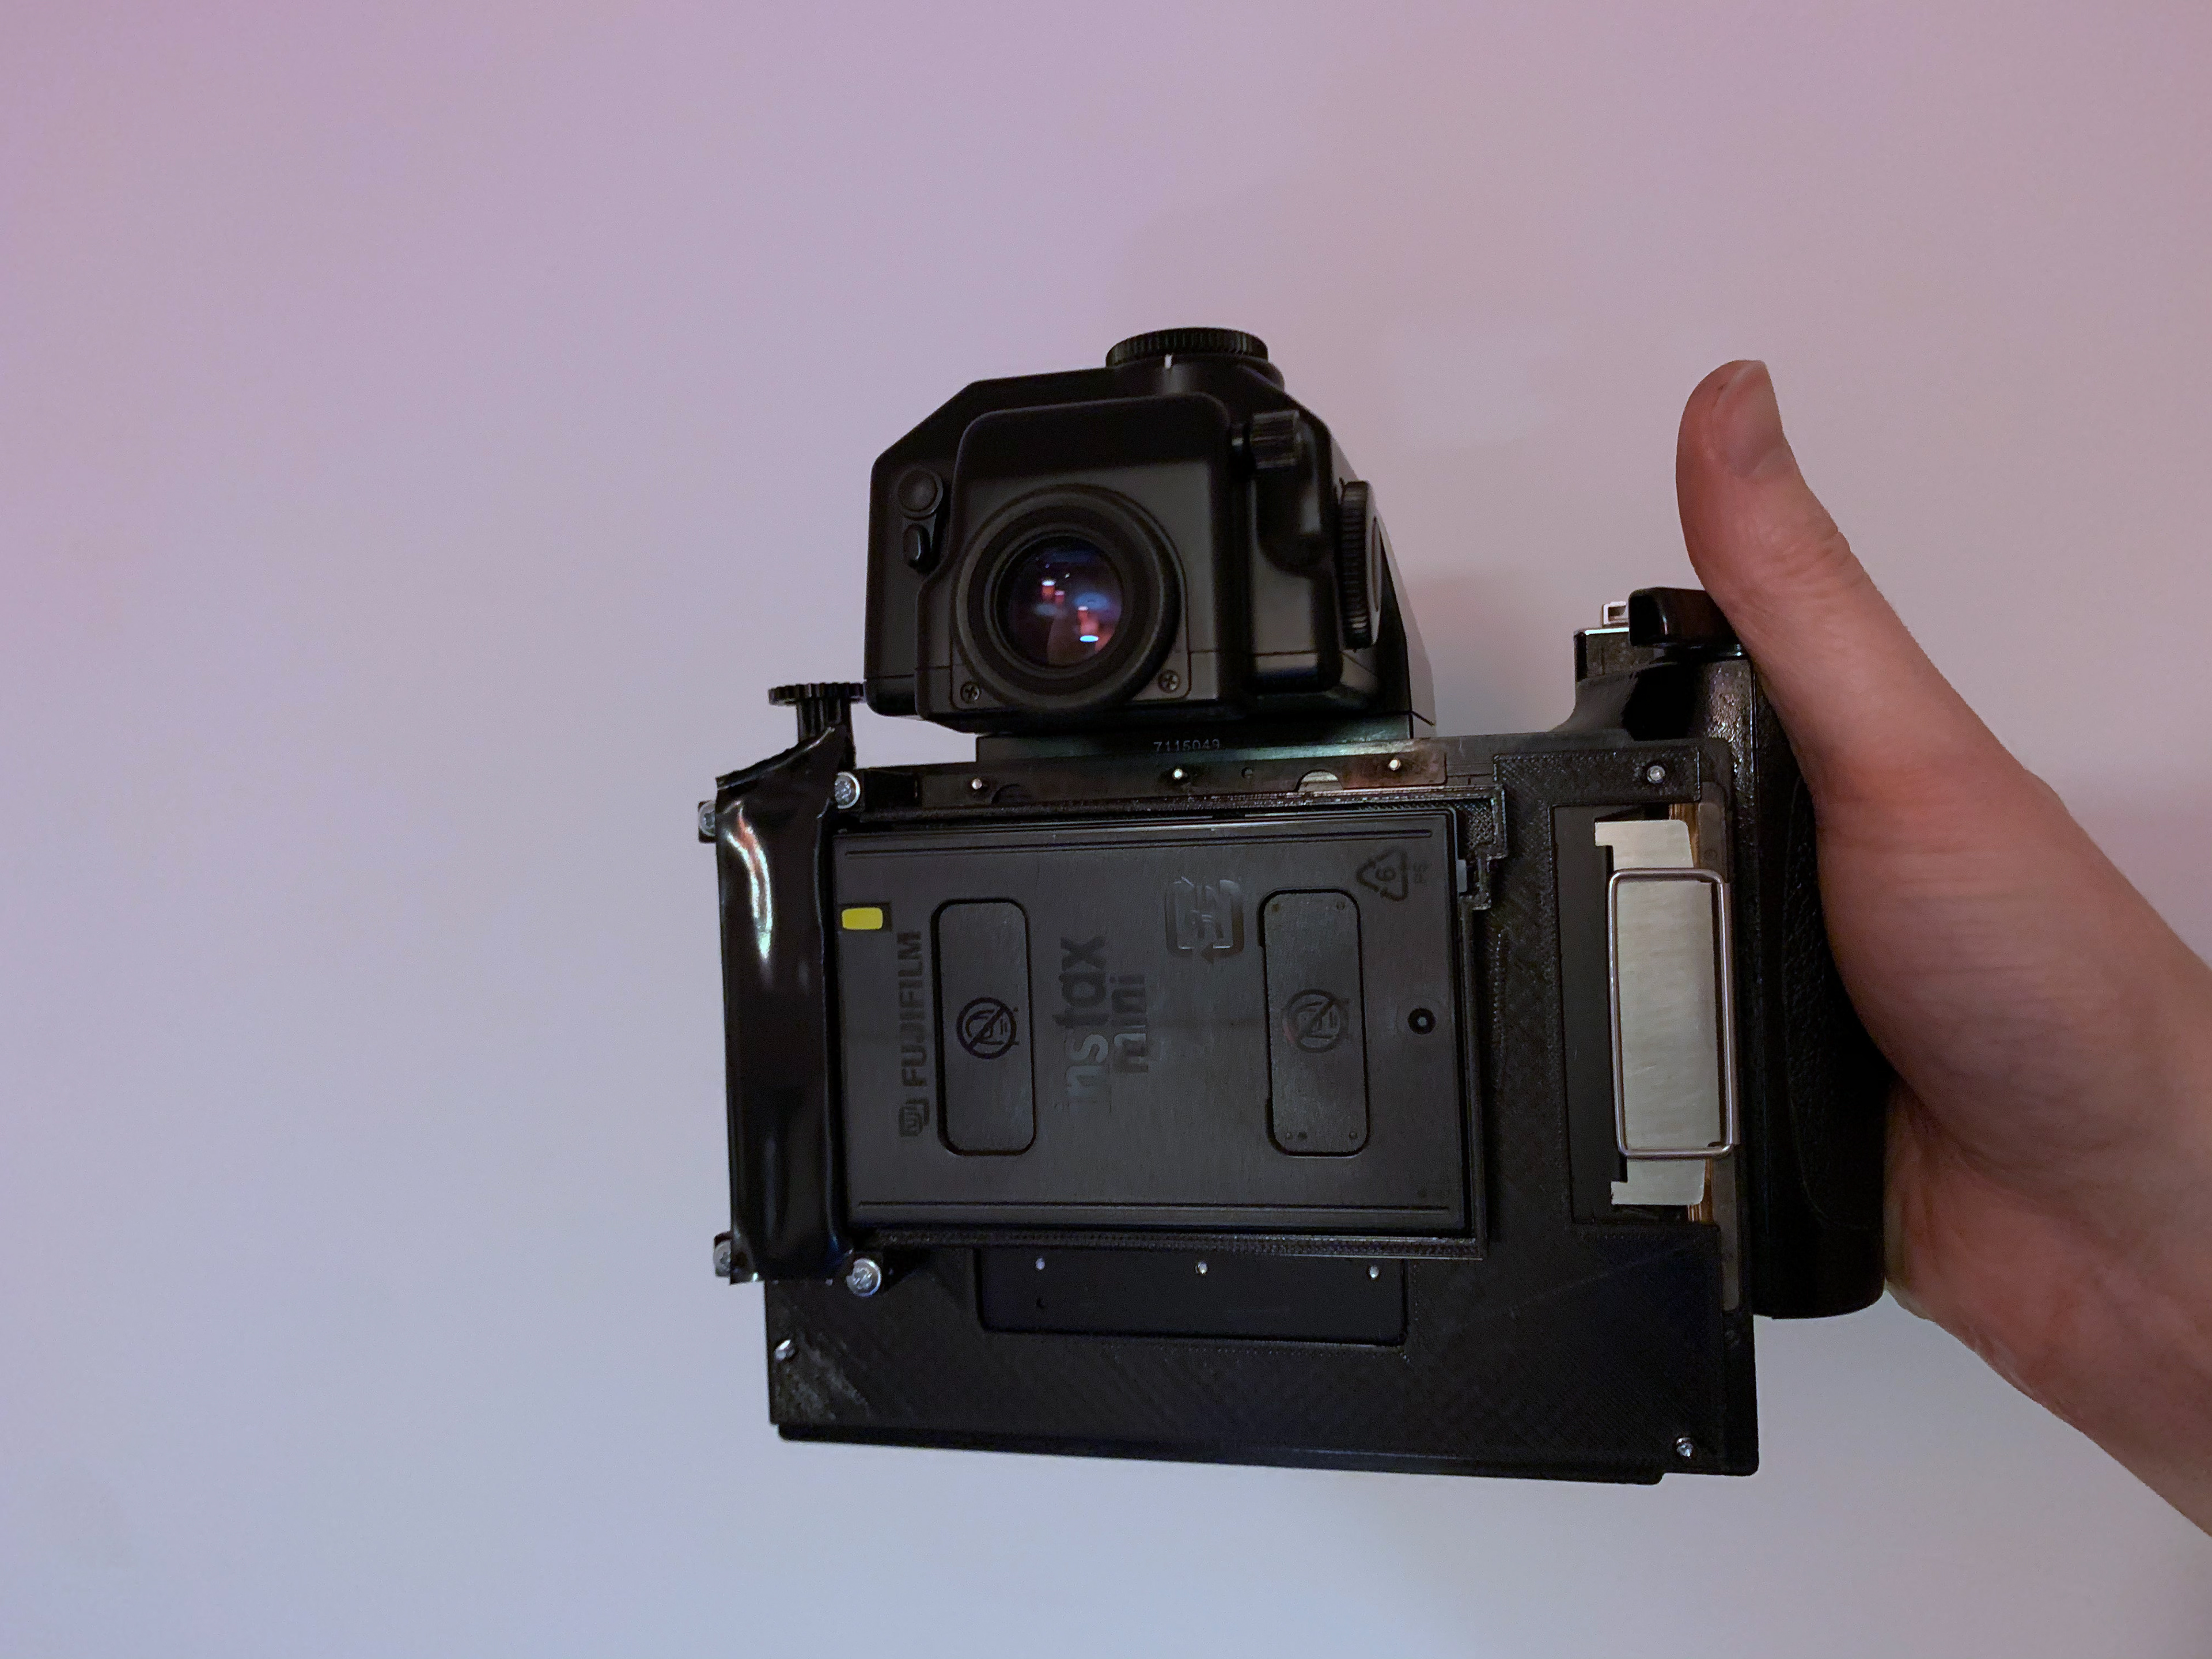
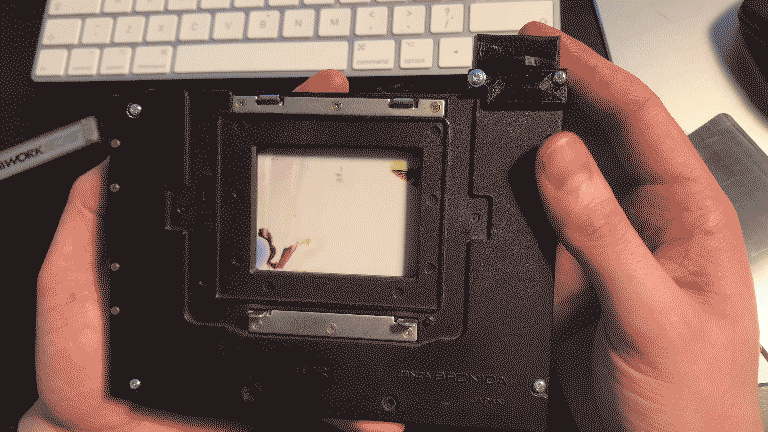
When I discovered my Bronica ETRS had a similar sized negative to an Instax mini, I couldn't resist trying to create an adaptor to fit. Following initial testing and proving it could work, I began the challenge of creating a 3D printed Instax back.
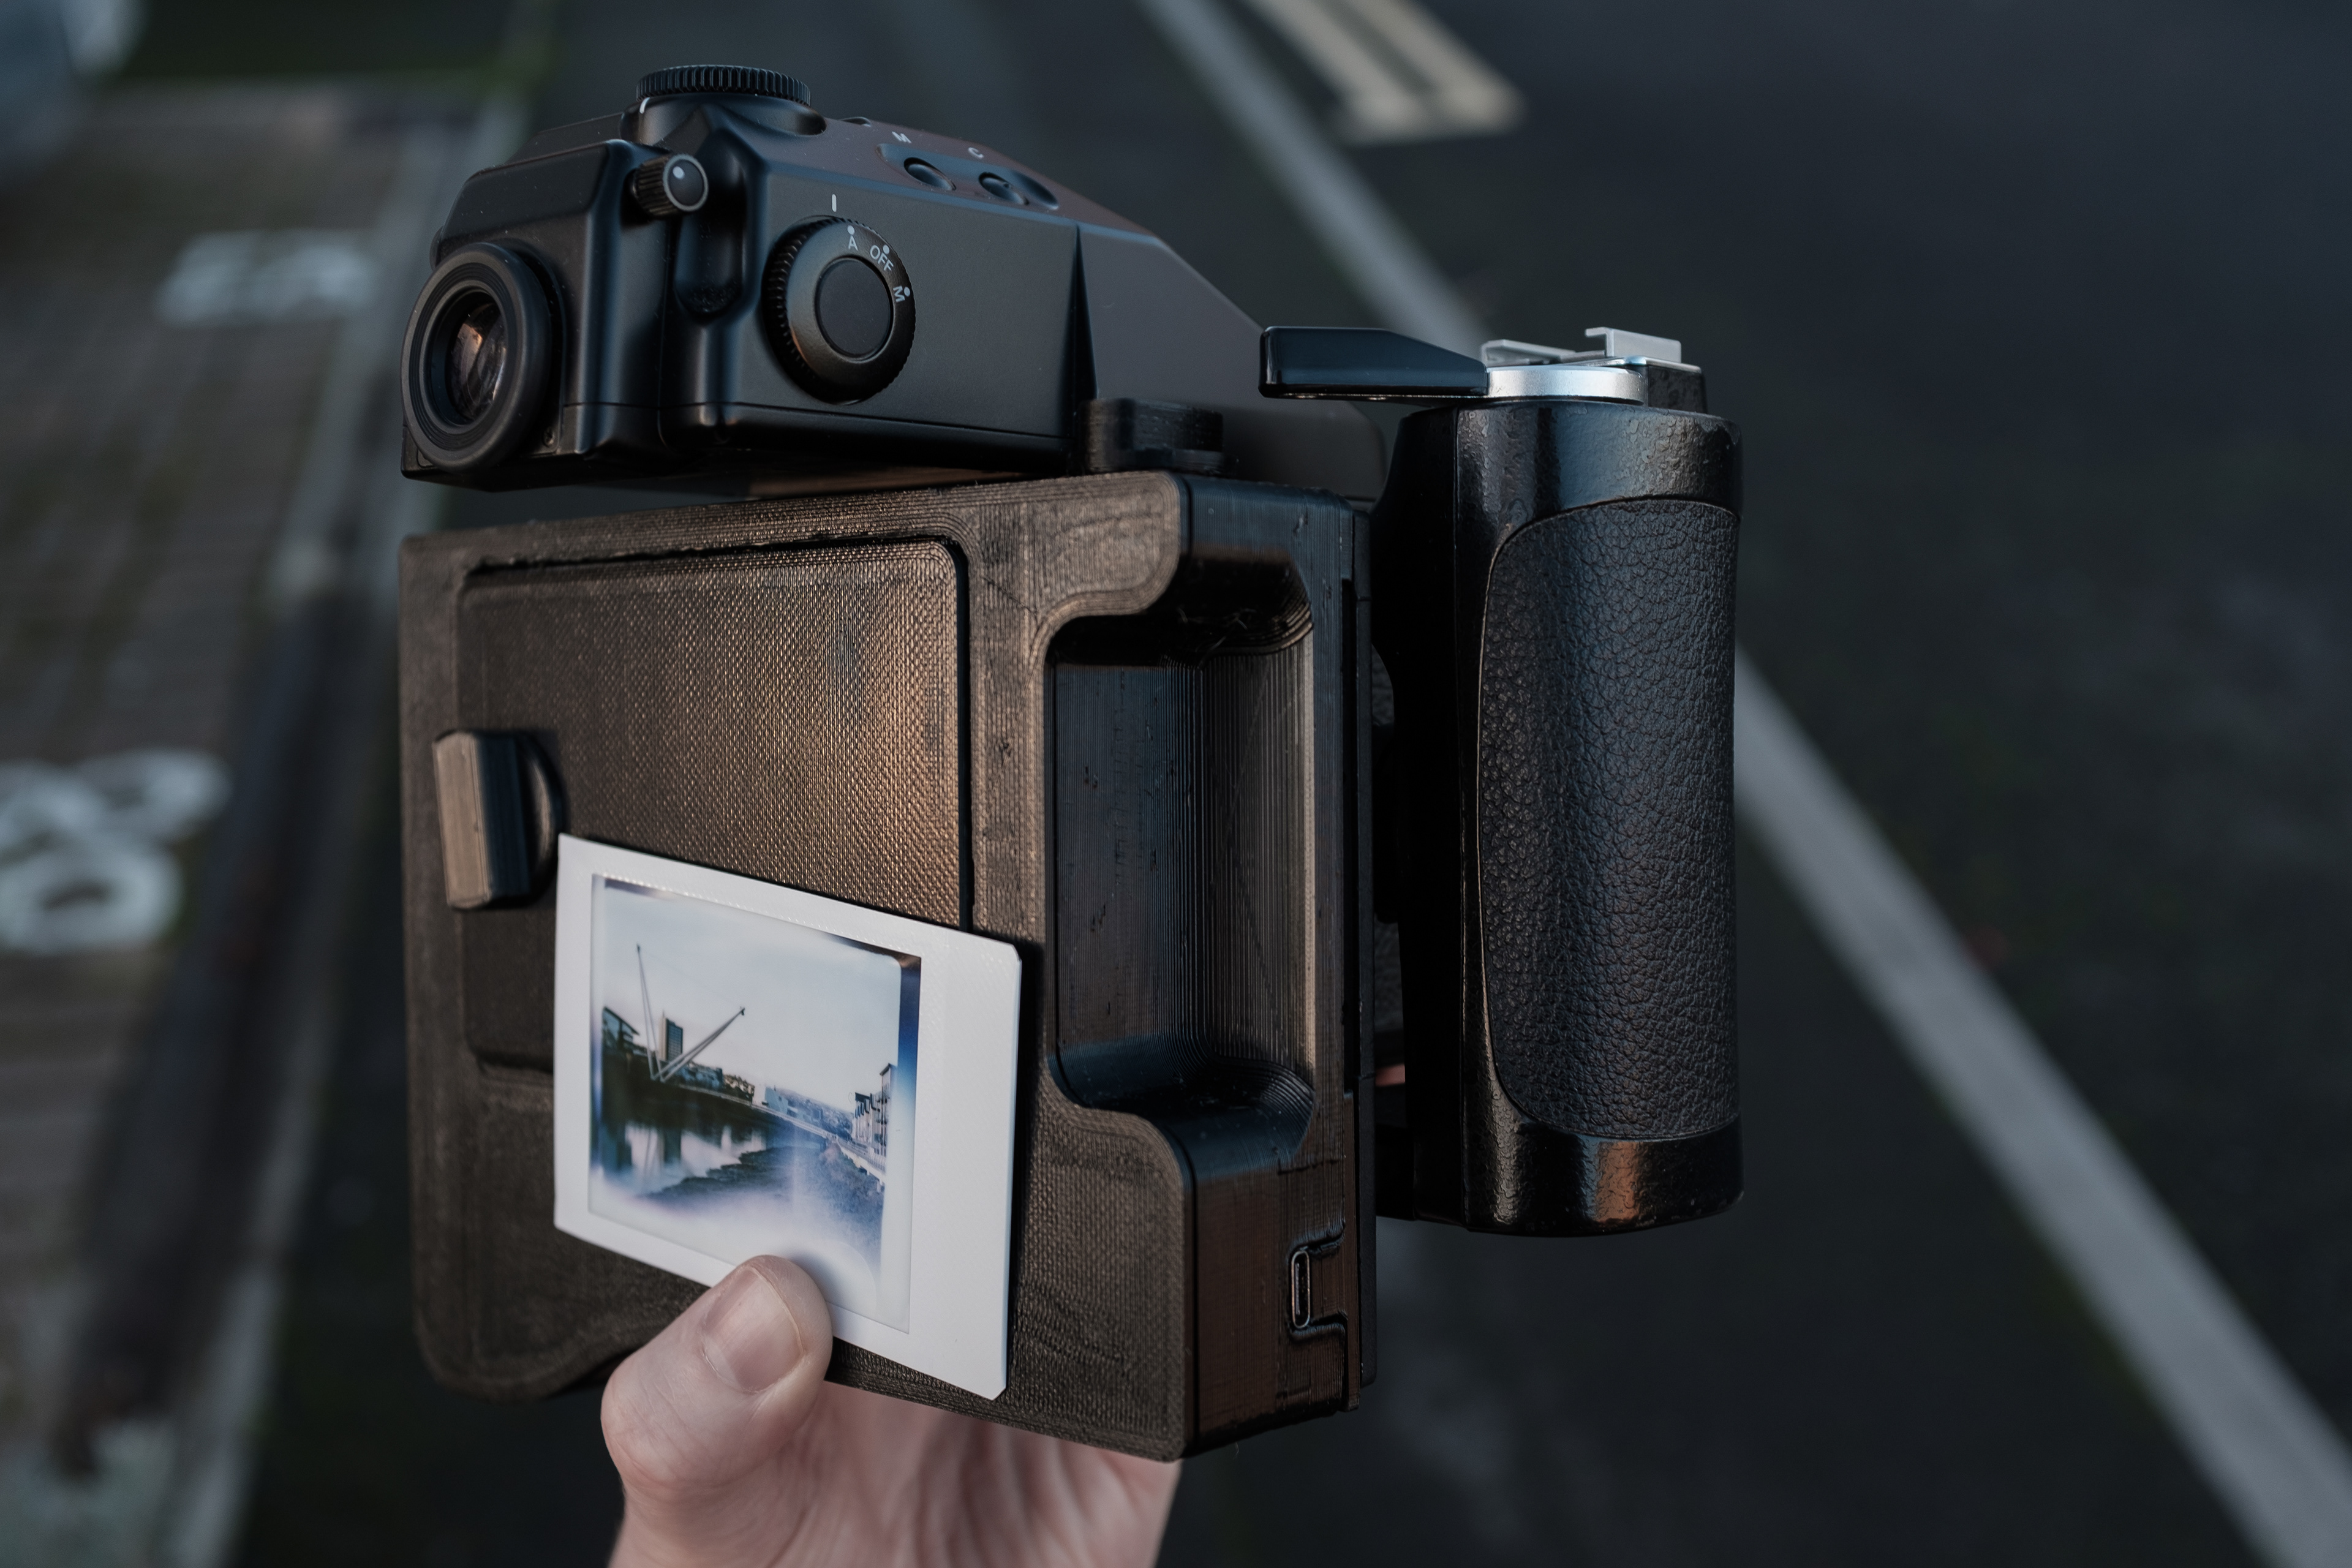
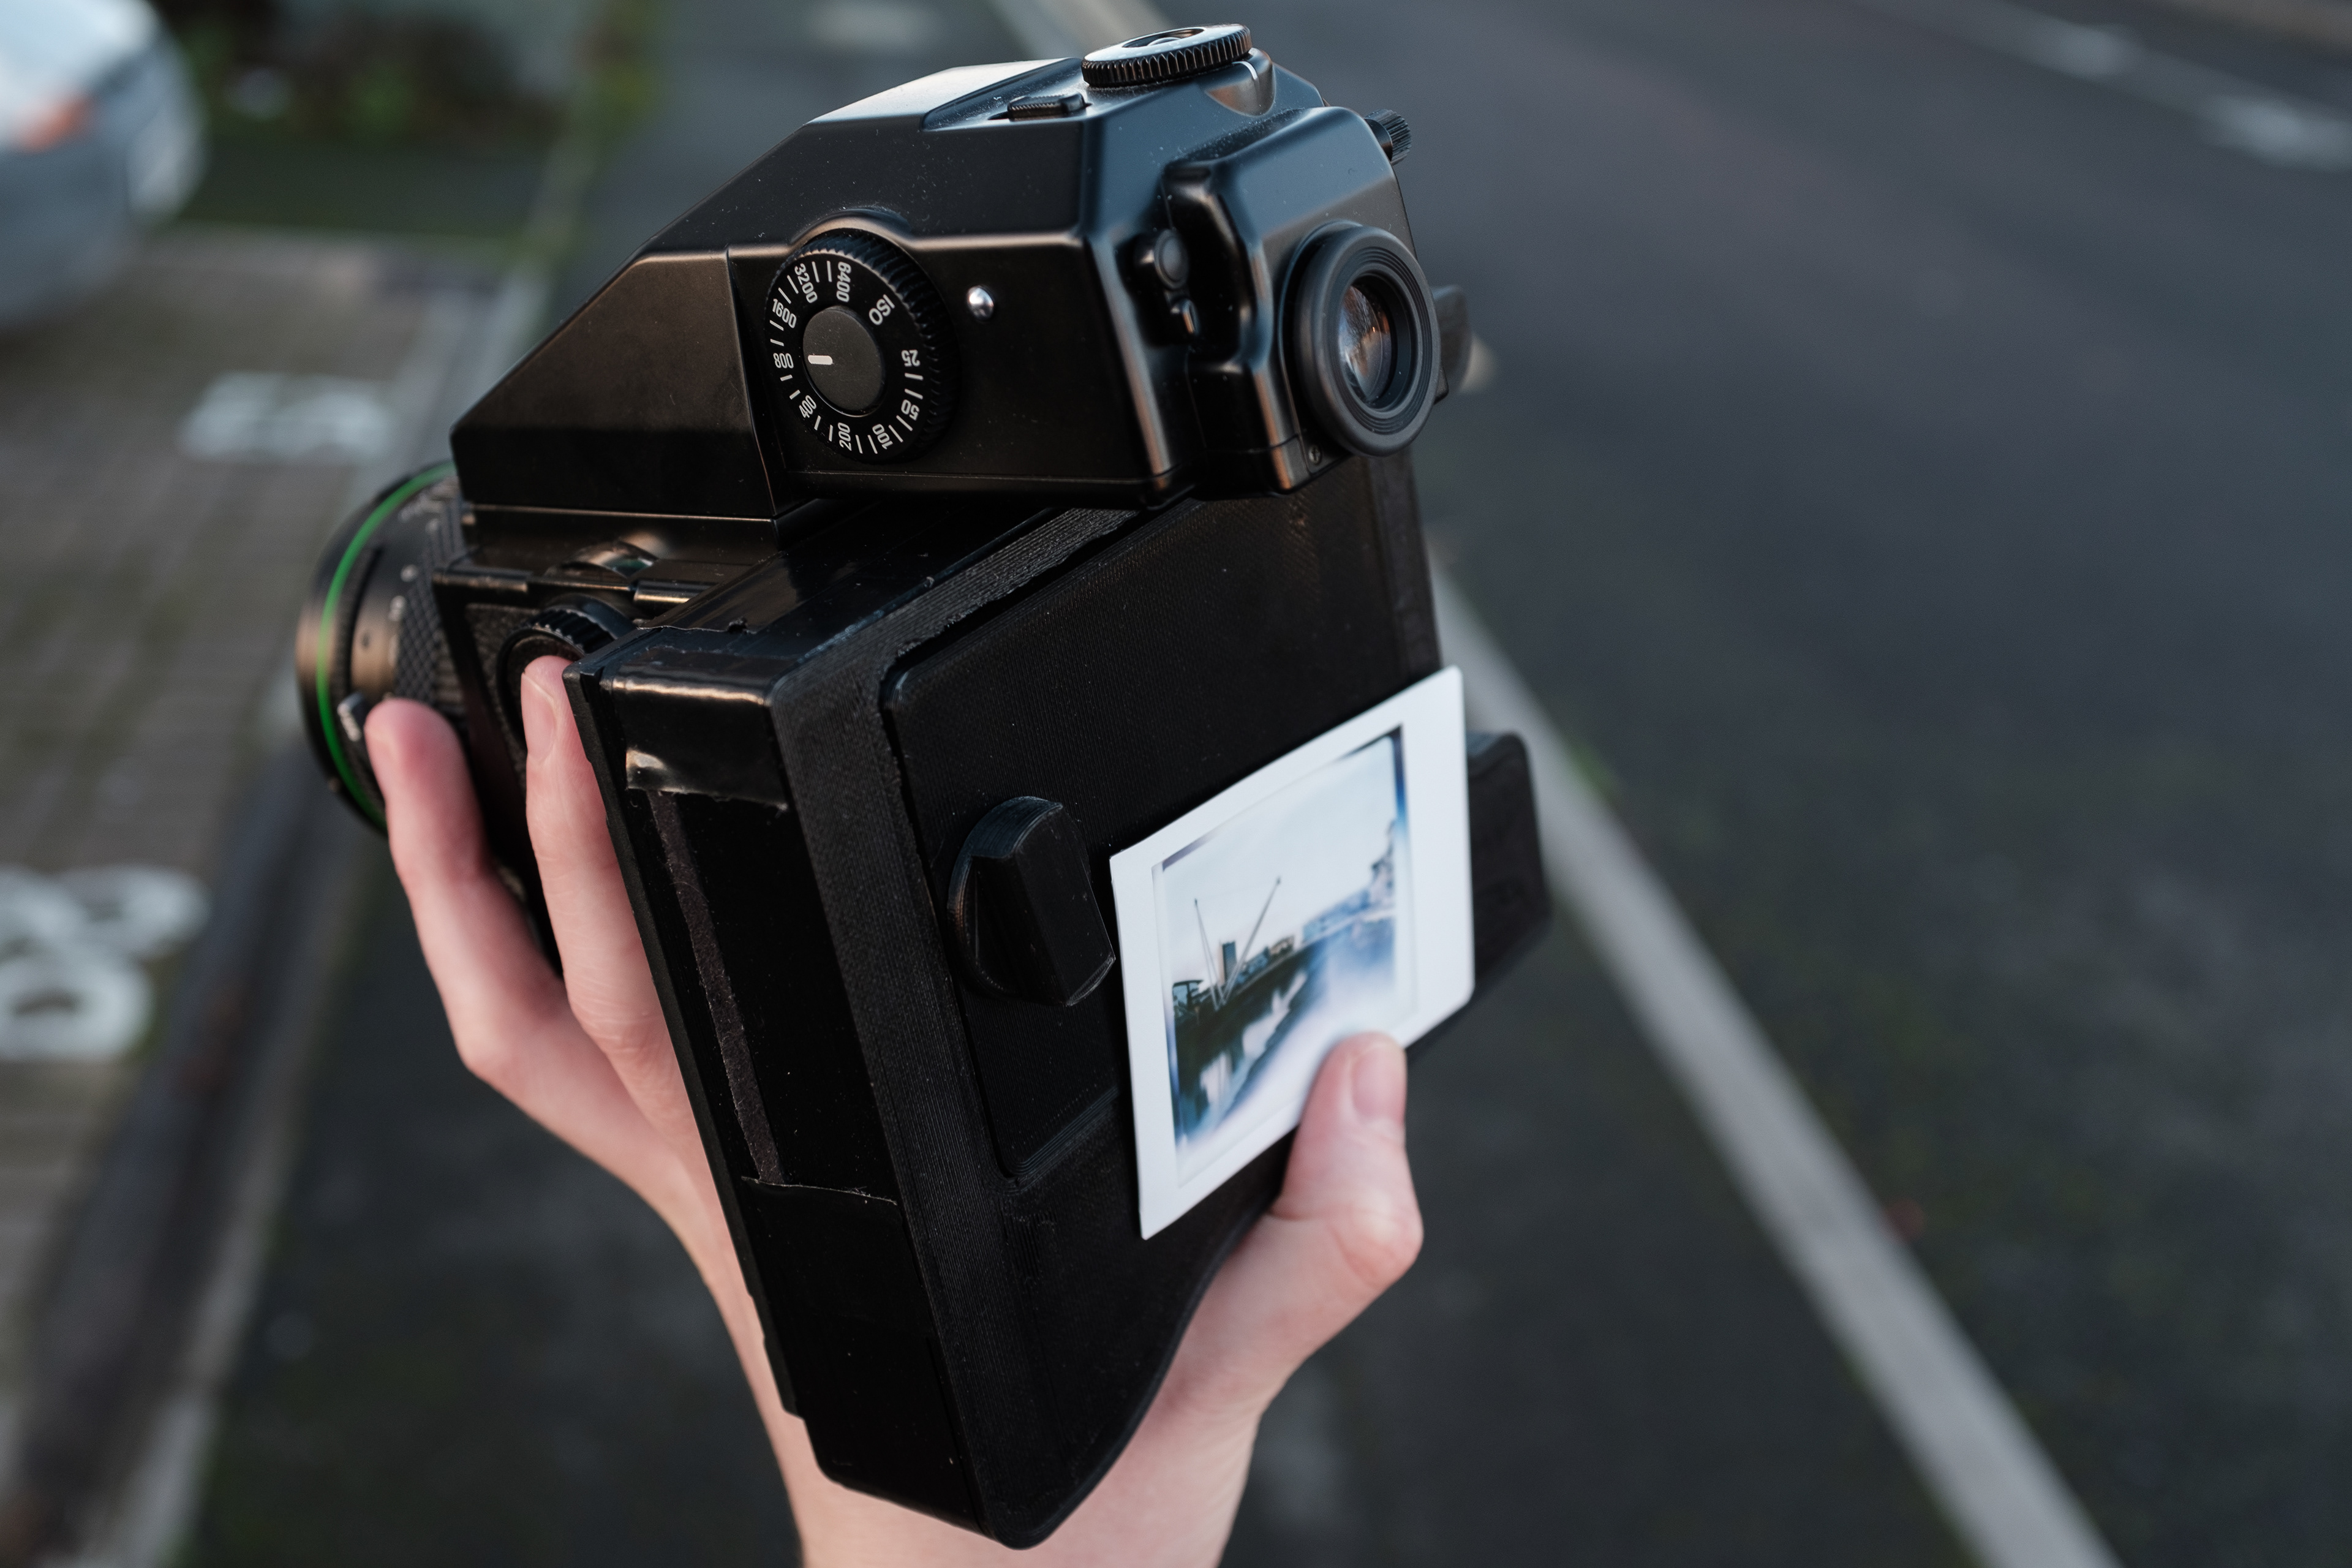
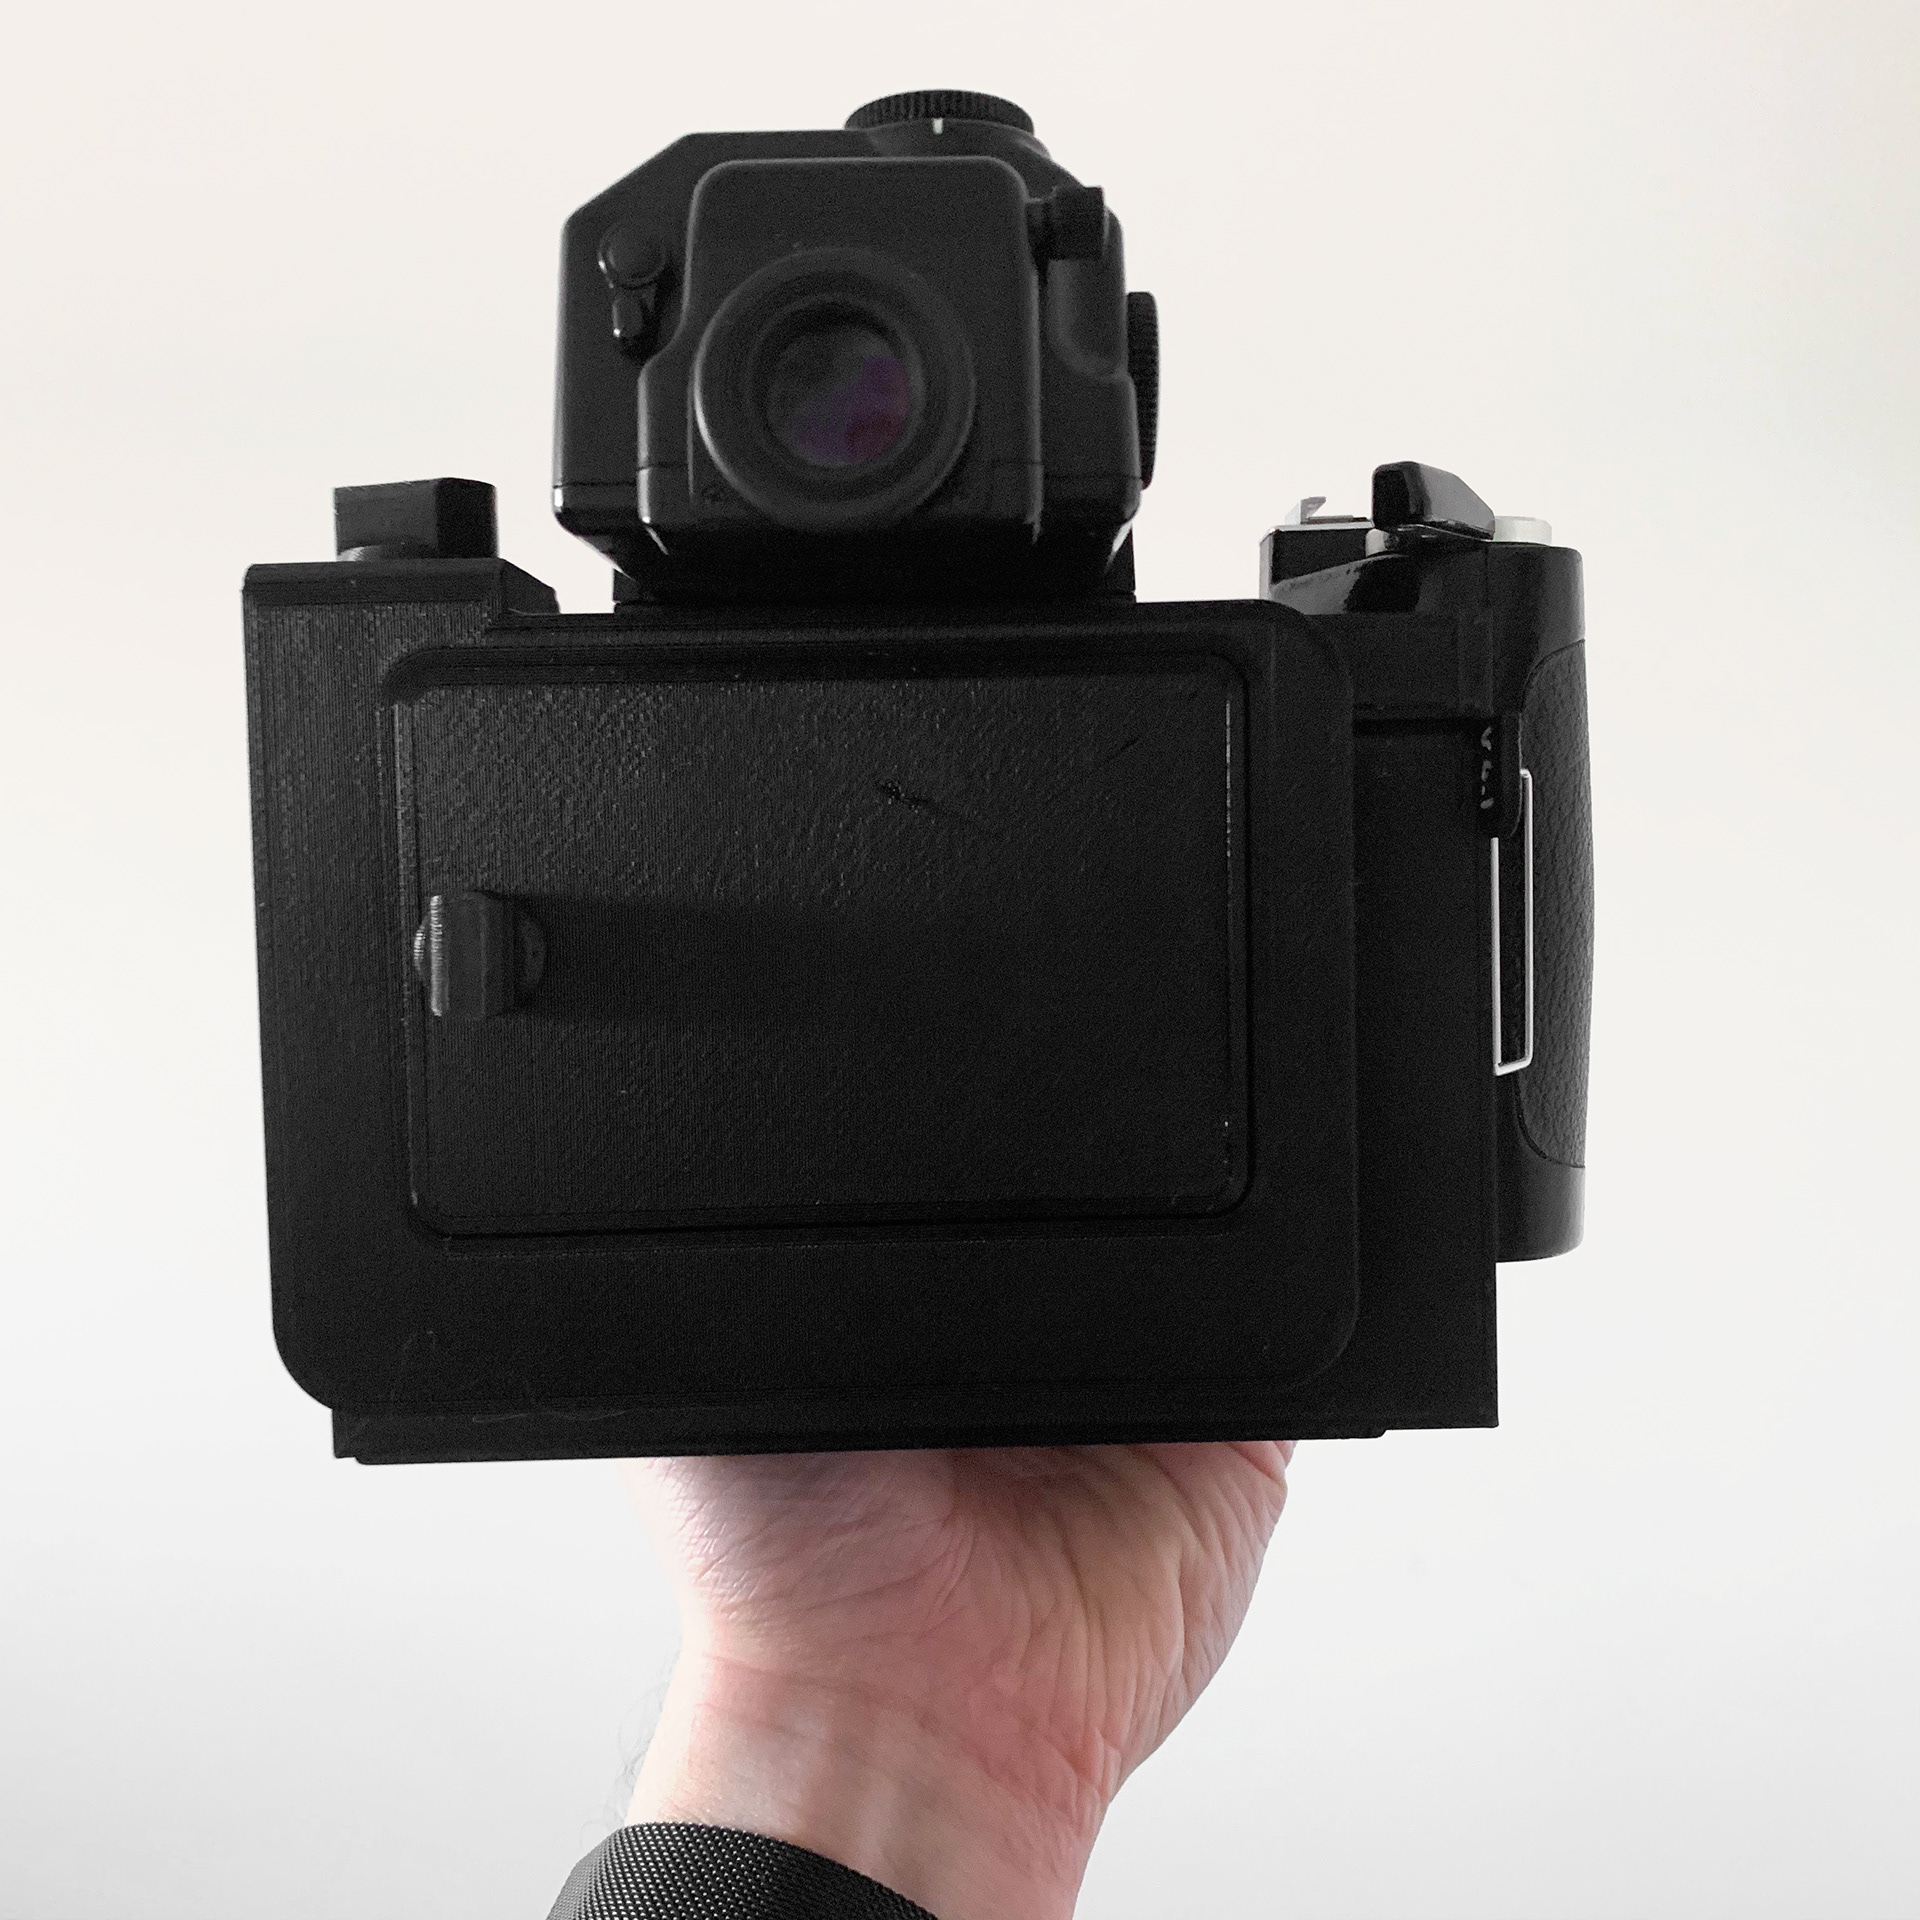
Images below show the V5 unit which features a large Li-Po battery, USB-C charging, manual slider and motor driven rollers activated by a push button on the bottom.
Amazing detail in a small package

Can focus to infinity
Incredible sharpness
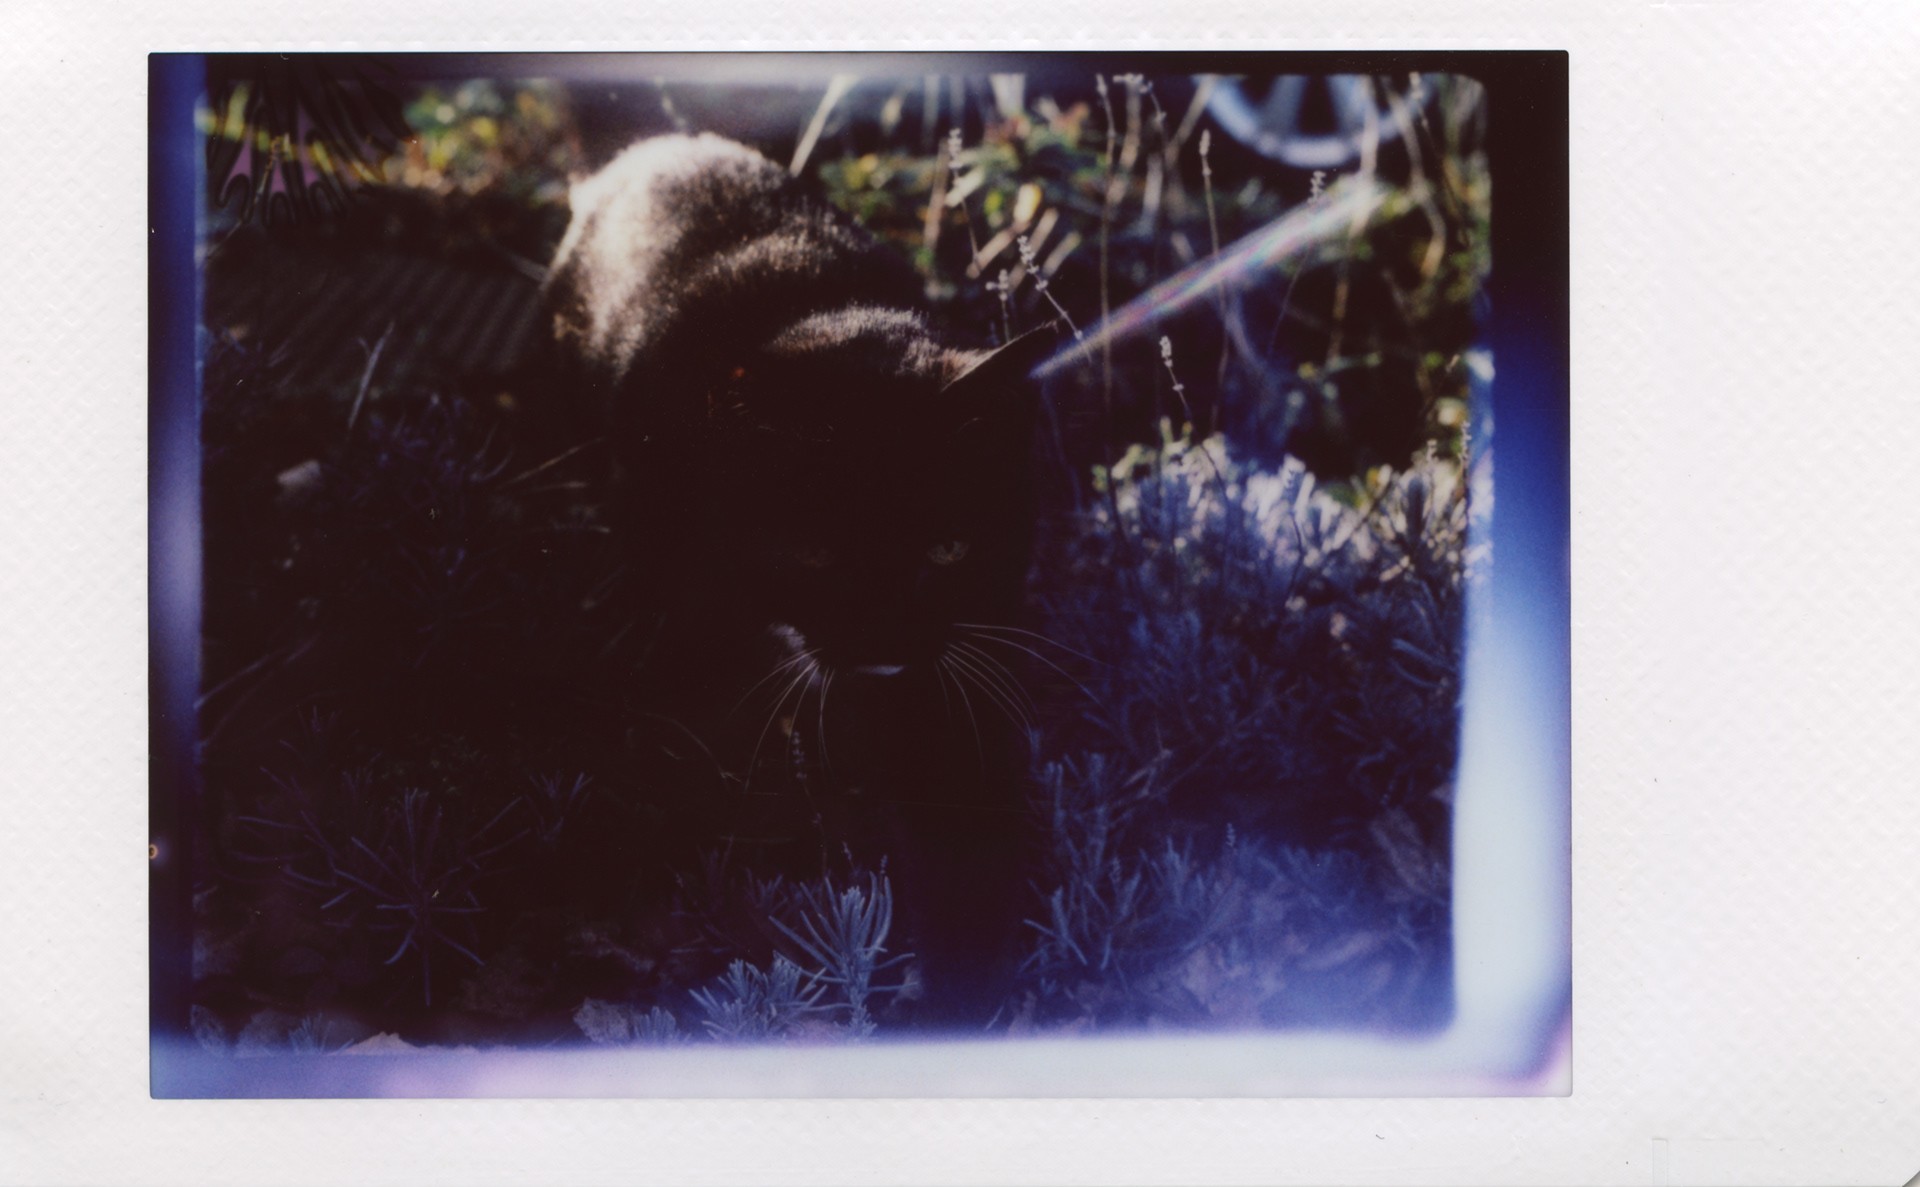
Light leak is a combination of inserting and removing the film pack during testing and the unit requiring more sealing near the rollers.
The Process
It begins...
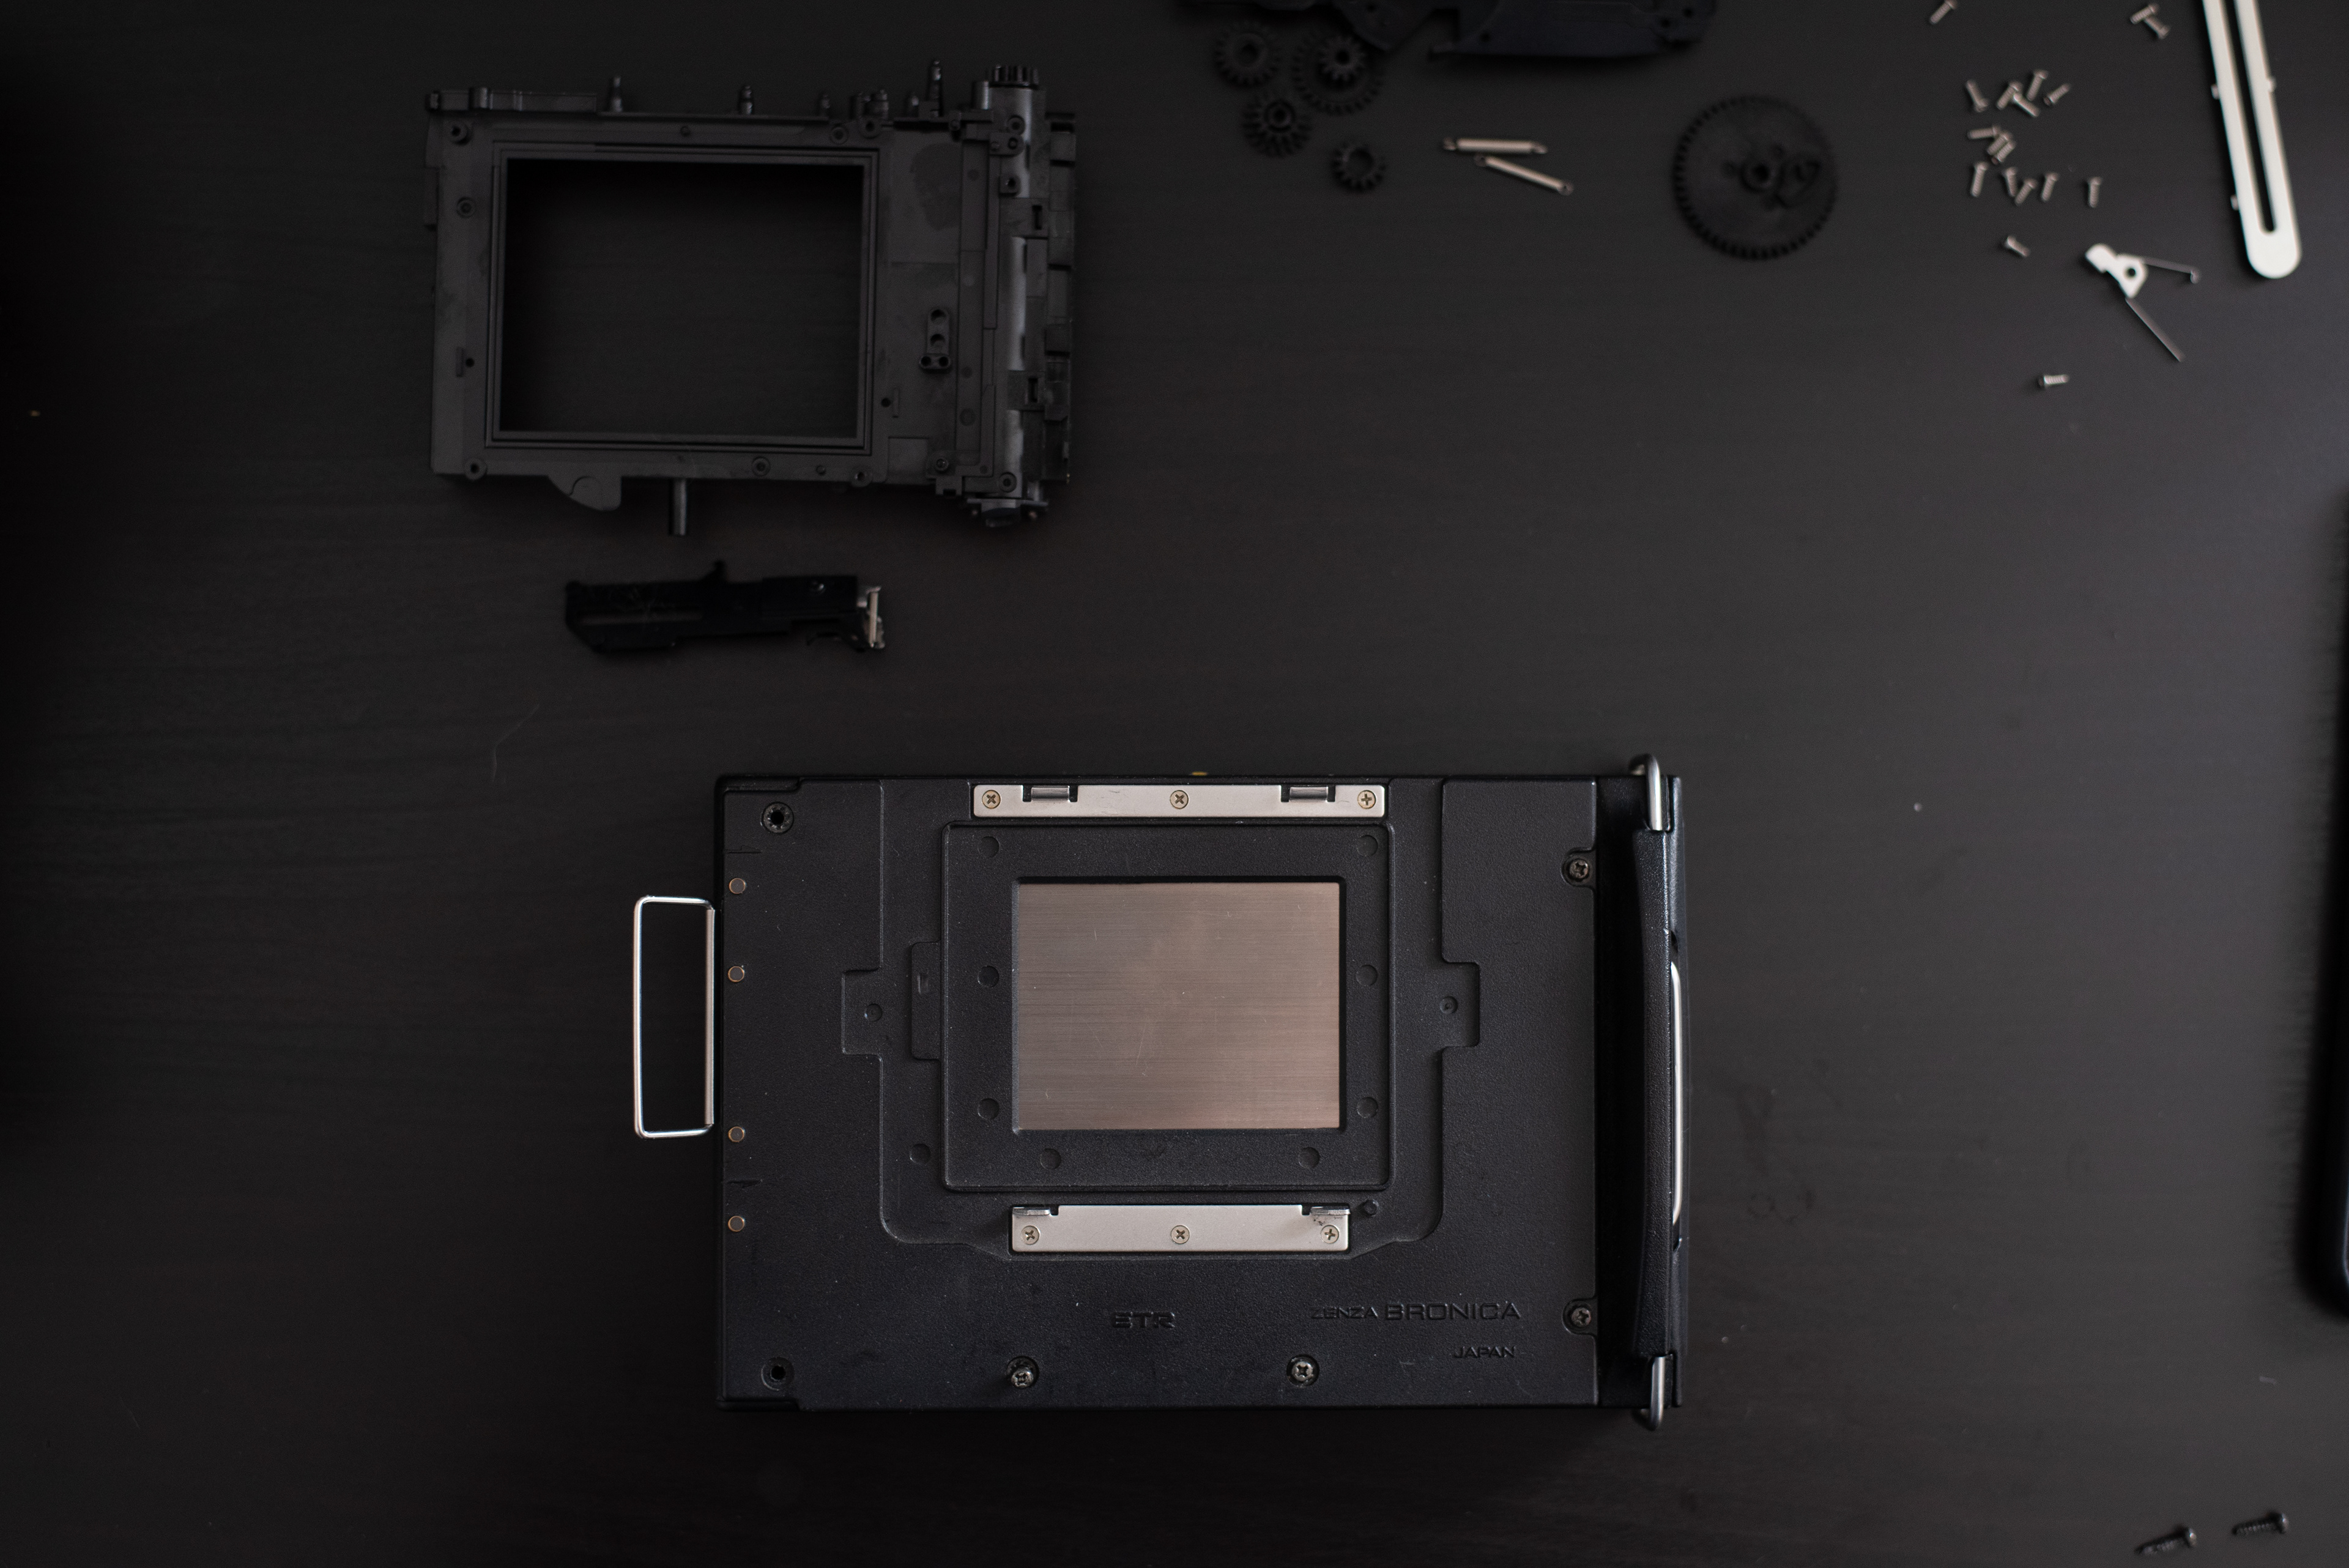
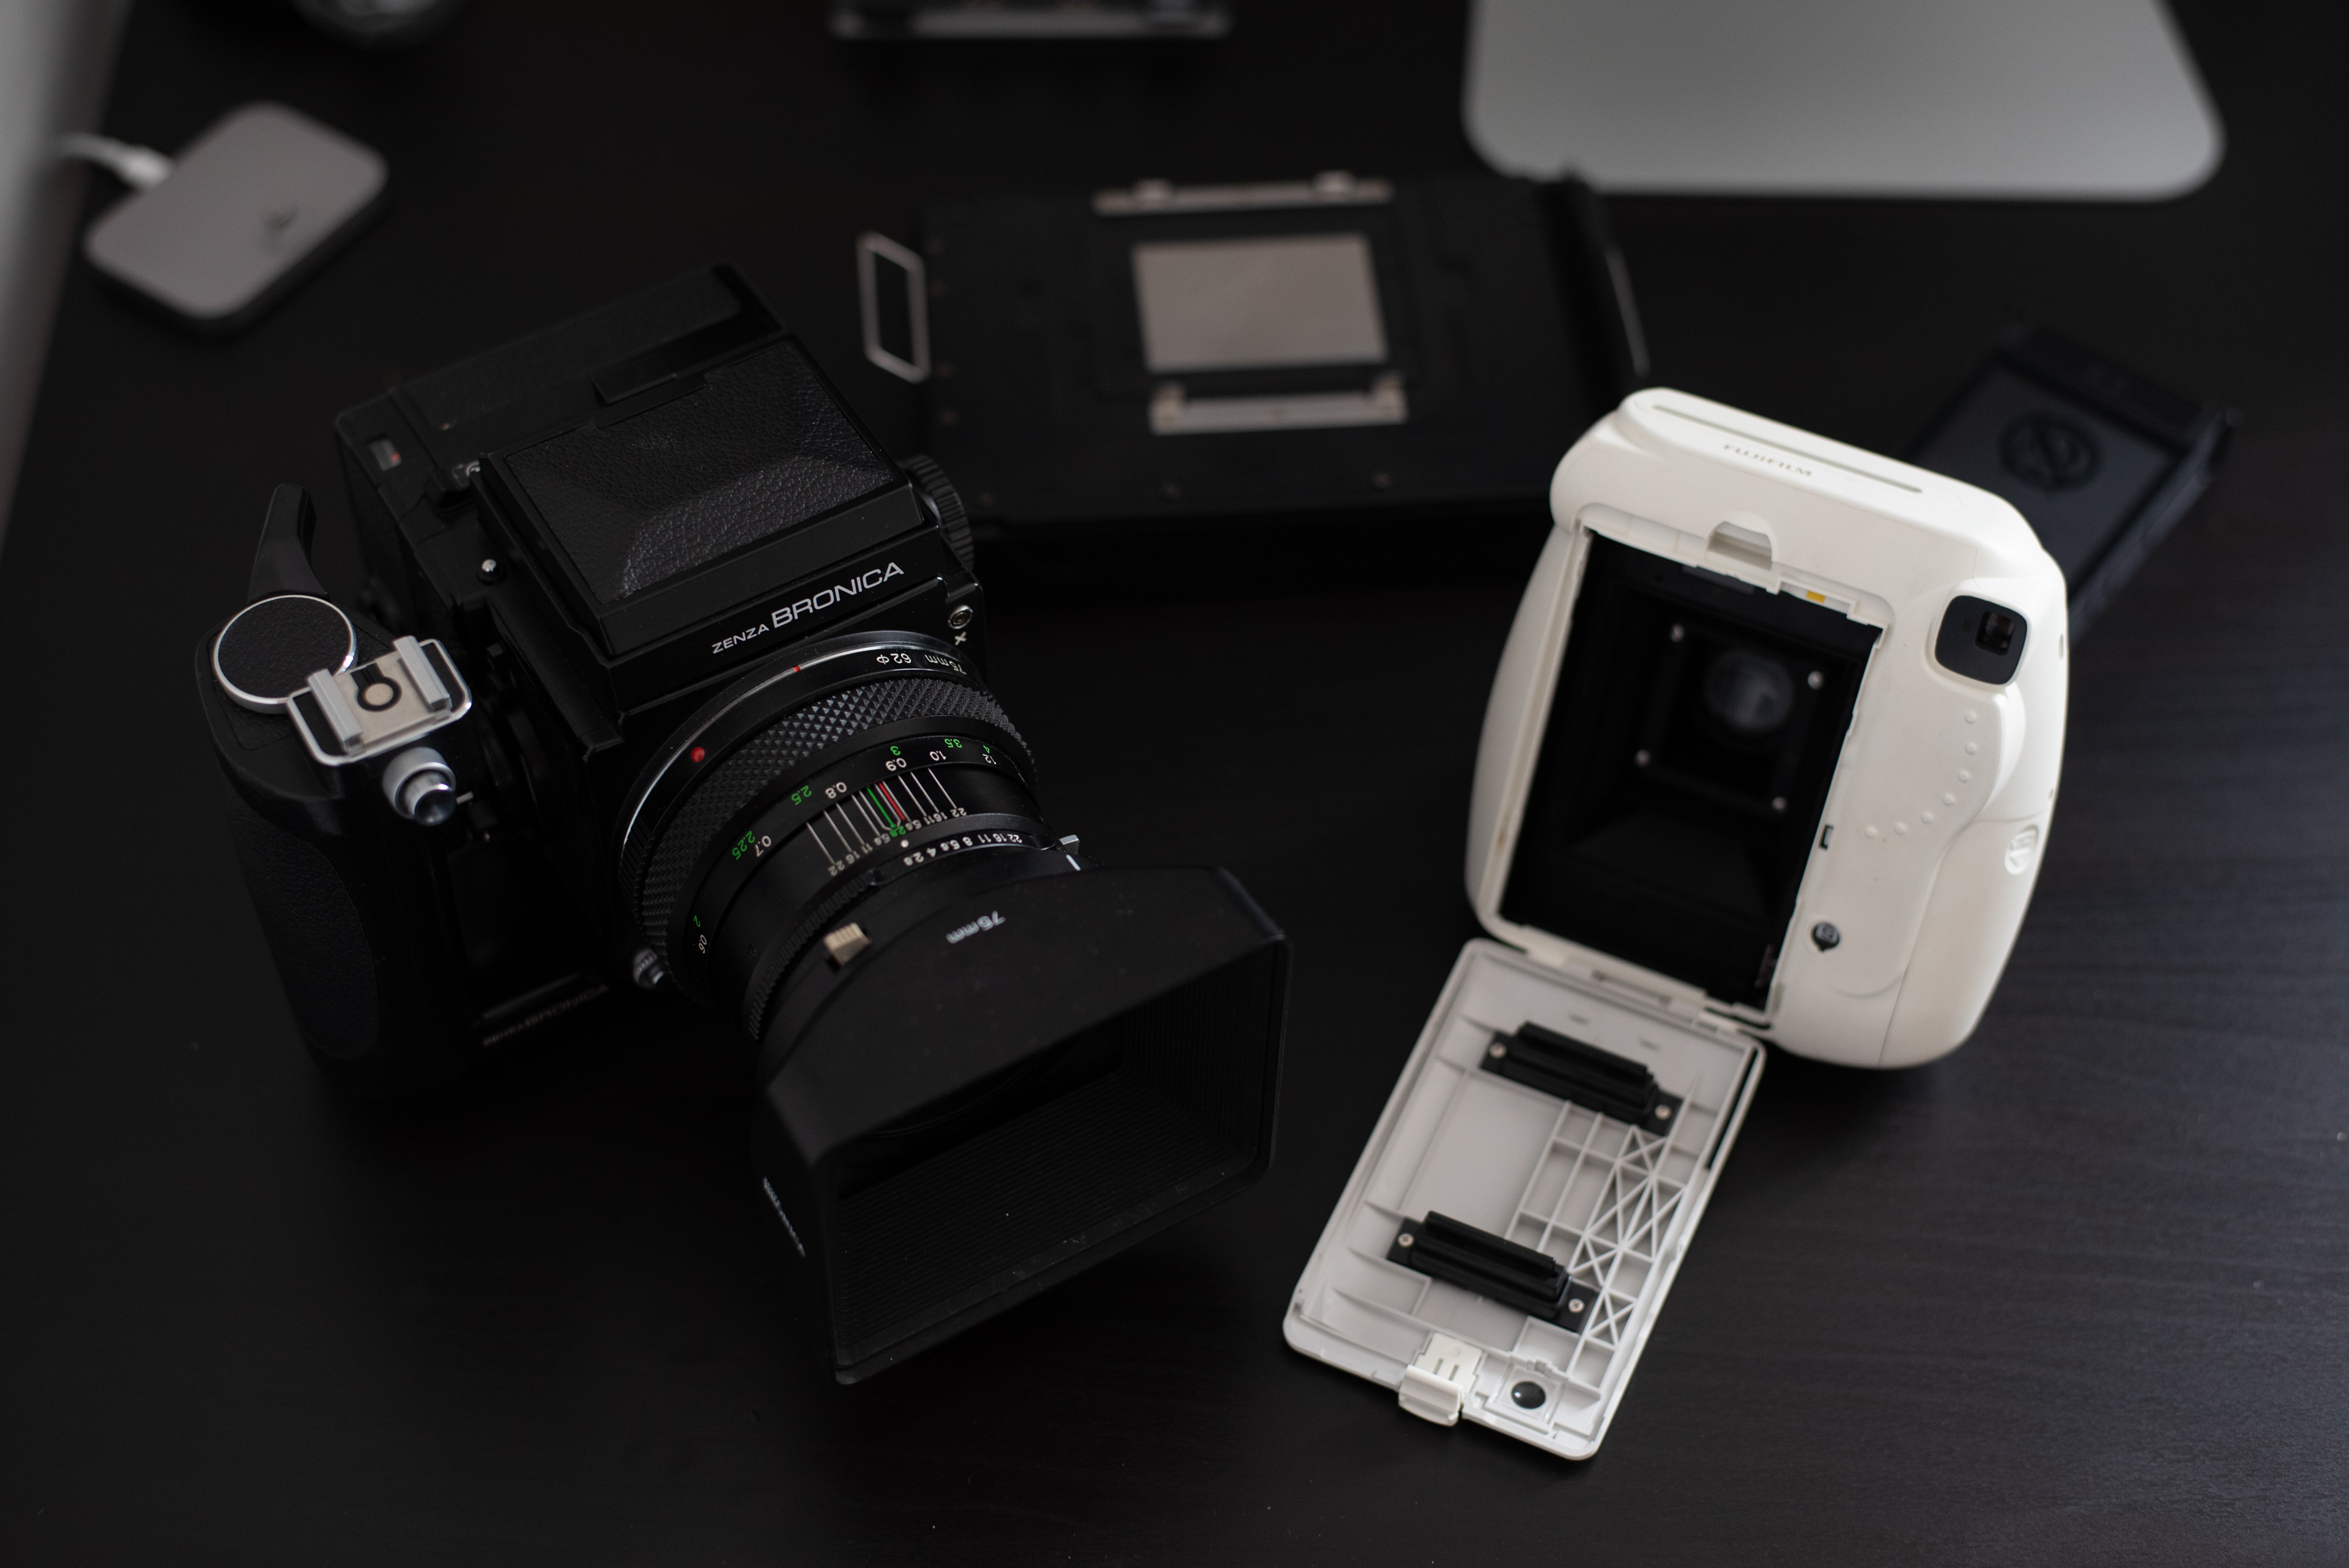
Bronica Polaroid film back with dark slide
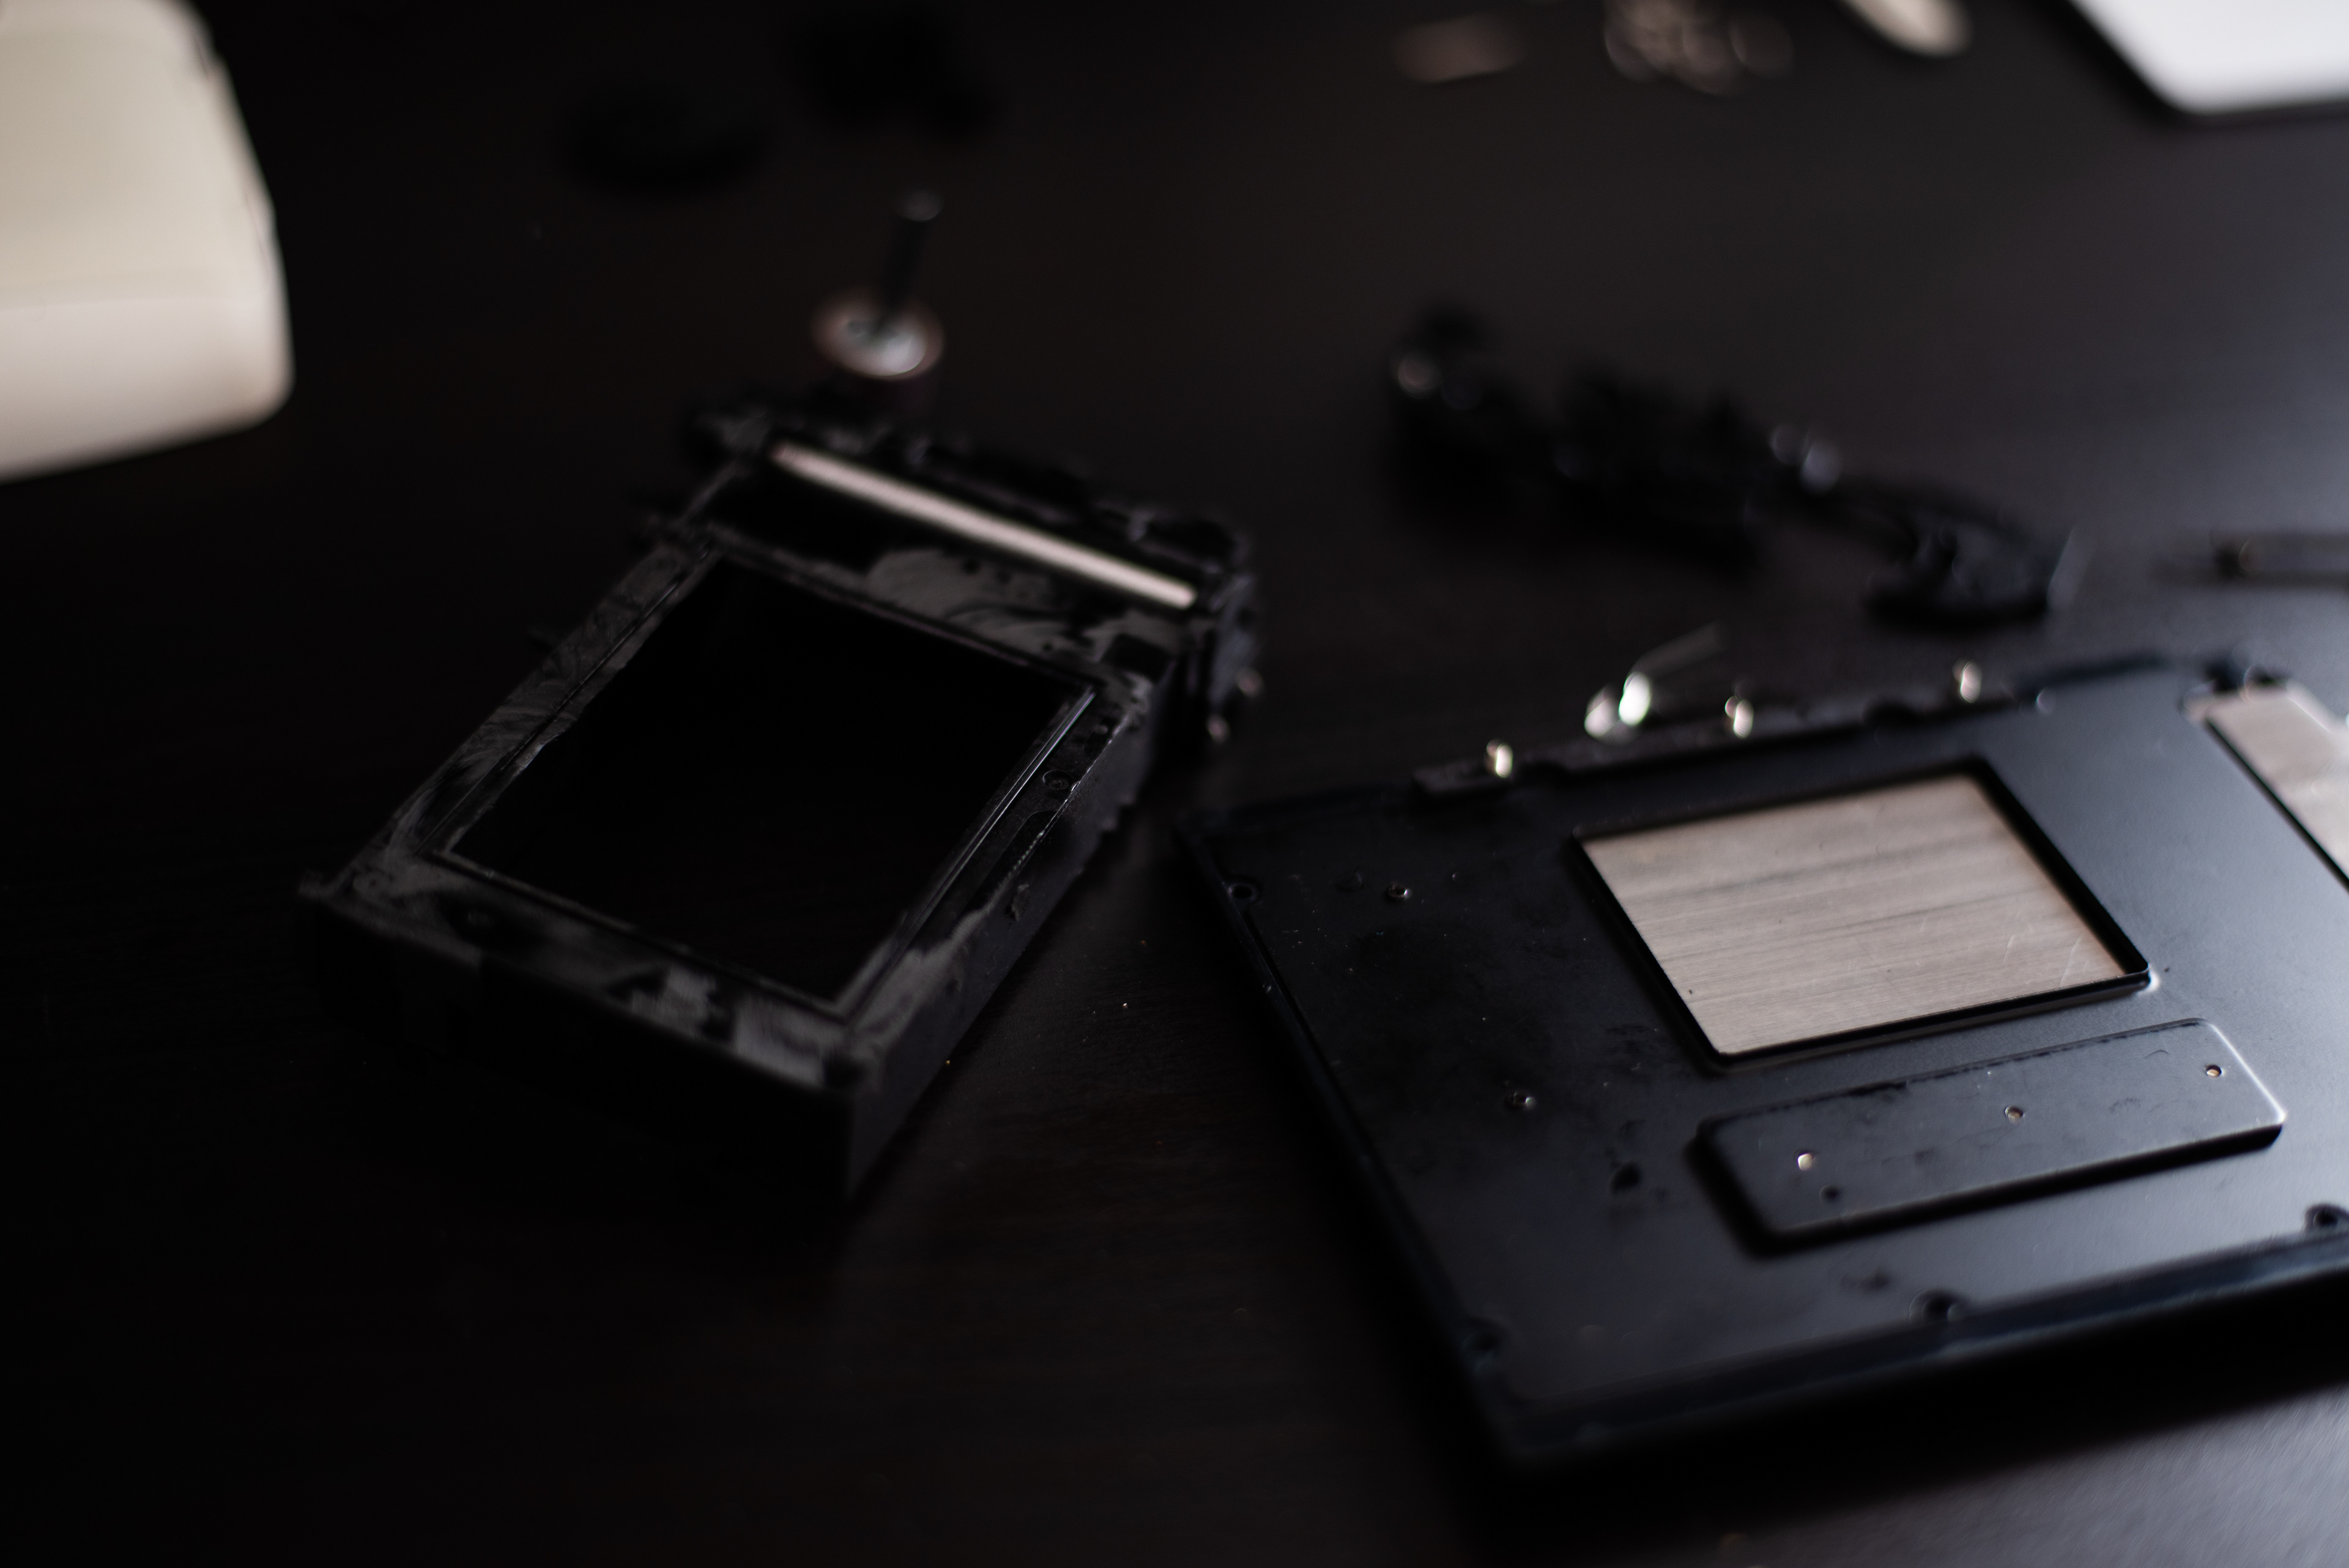
Stripped Instax chassis and stripped film back
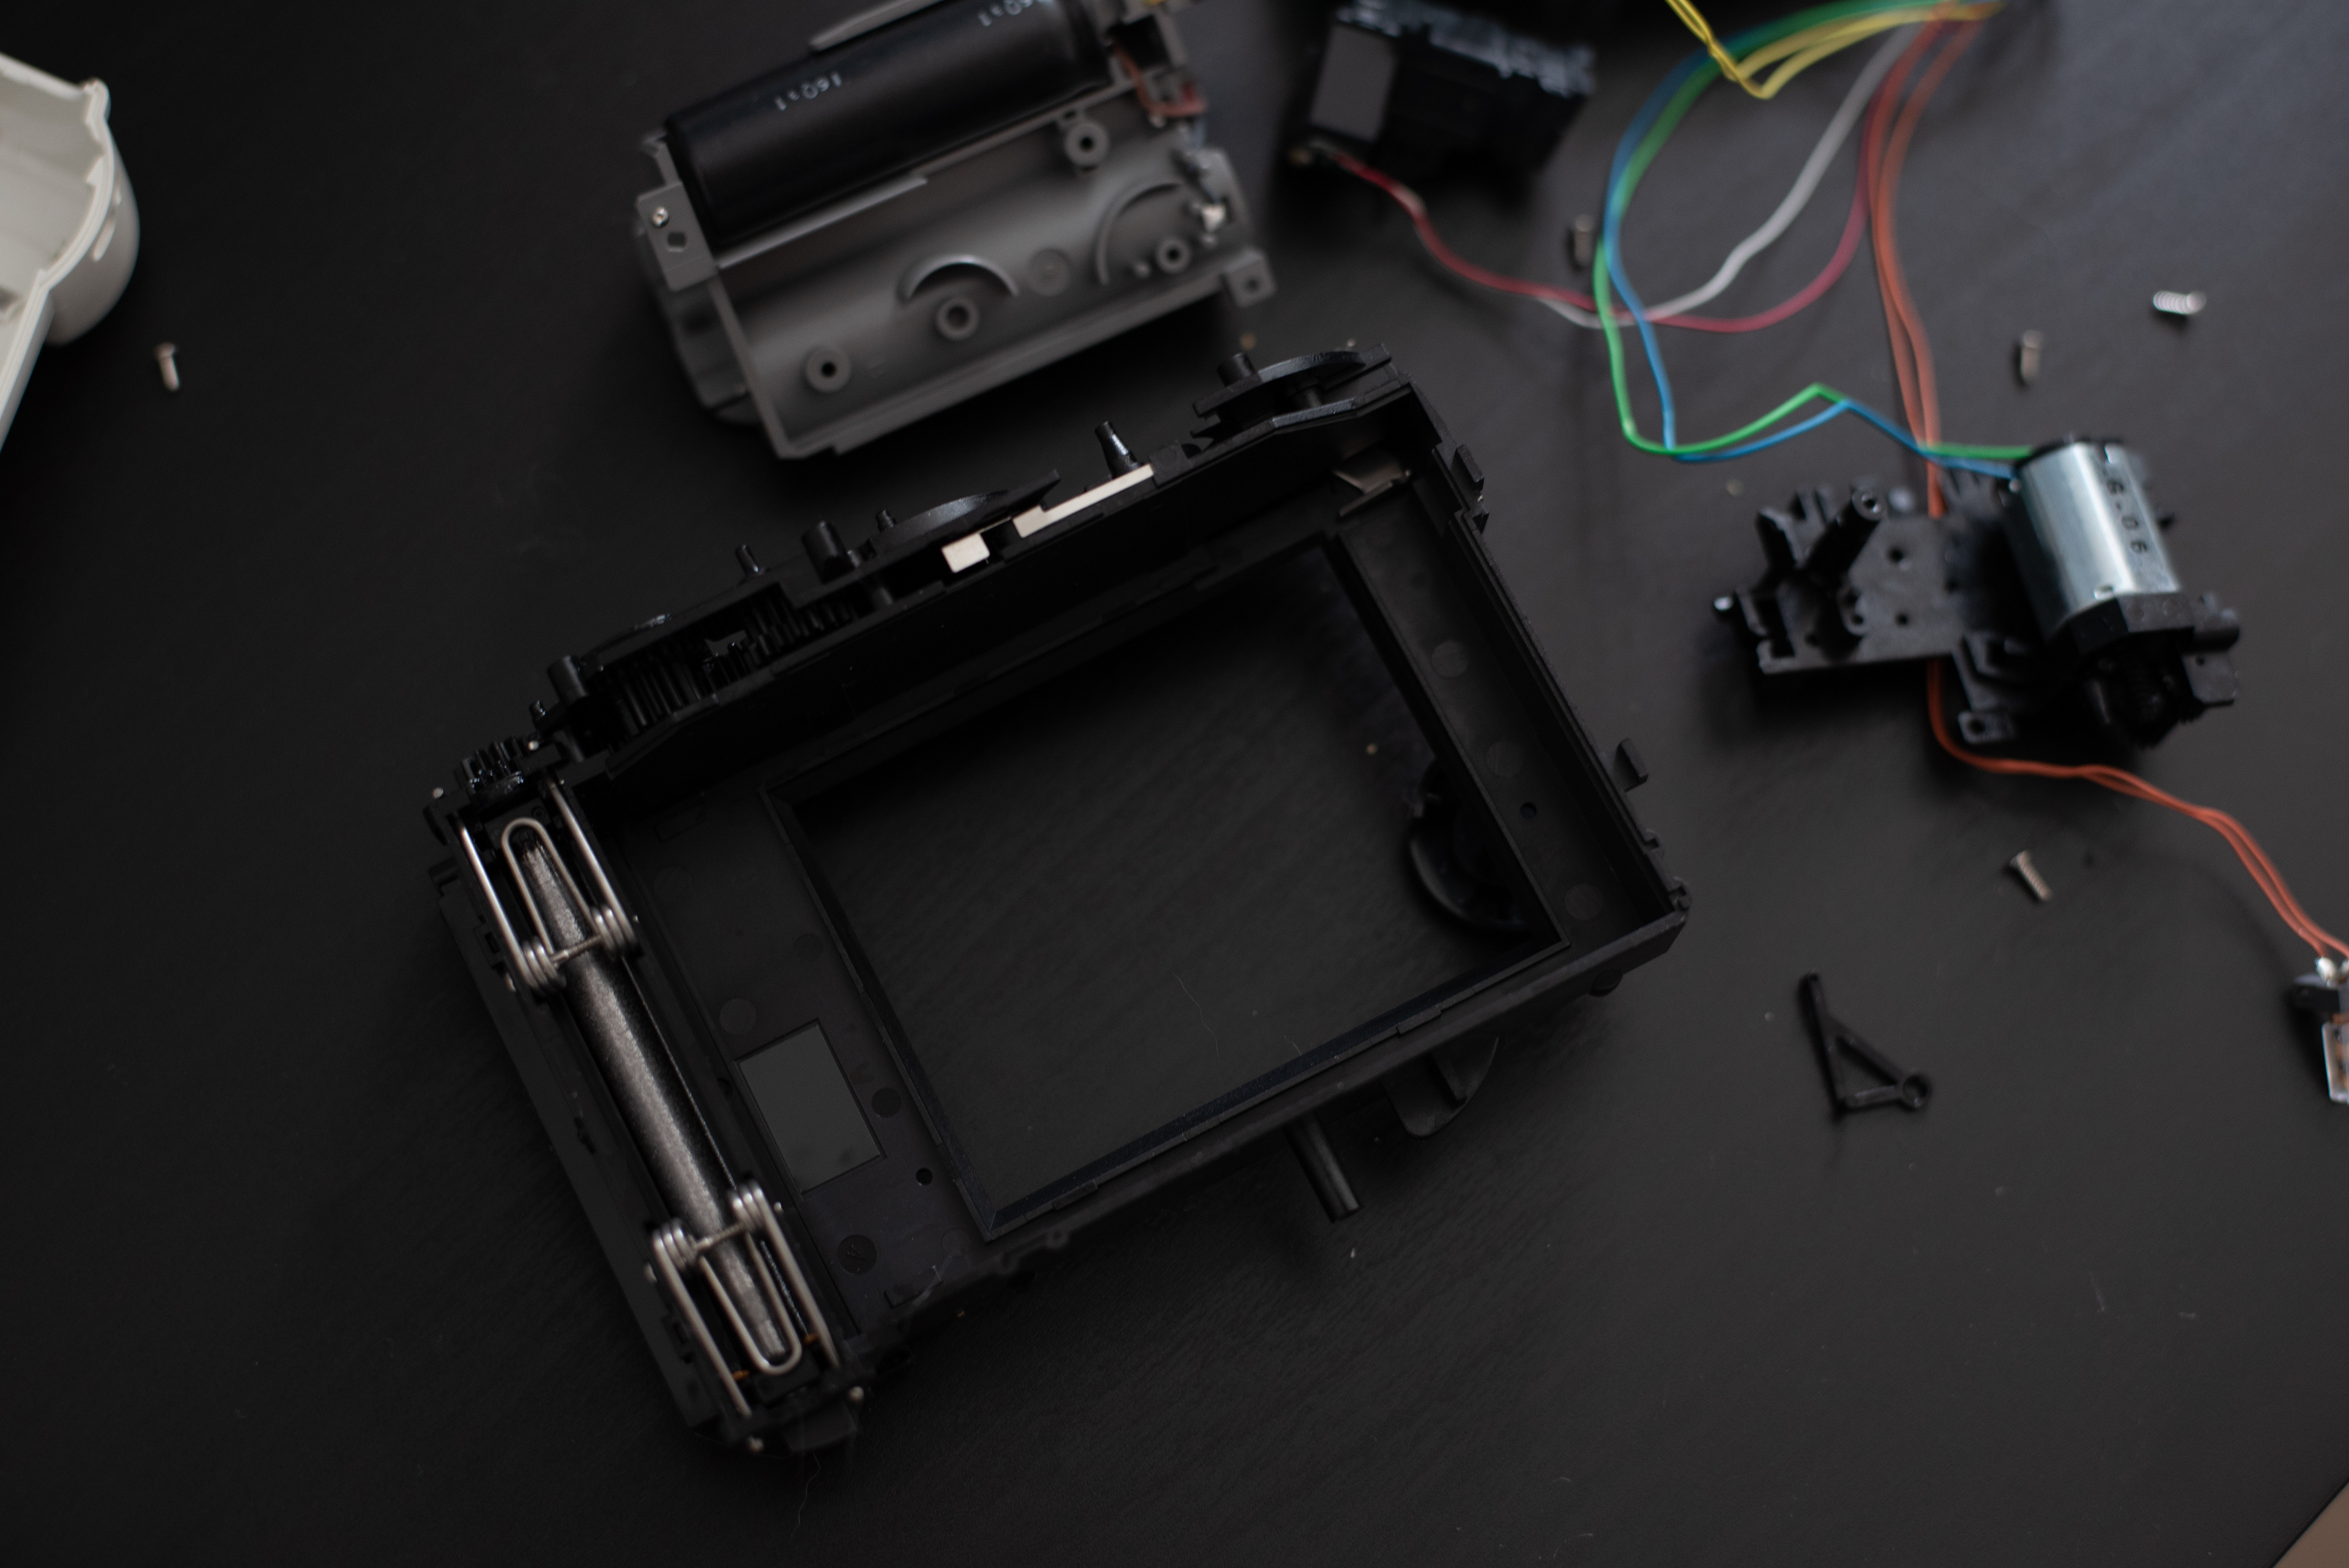
Stripped Instax chassis
I wanted to retain the interchangeable module film backs, so I don't have to use the whole pack of Instax film to change back to normal 120 (medium format) film. I used an old Bronica Polaroid film back (peel part film has long been discontinued) for the dark slide and film alignment. I needed to keep the focal planes the same so the focus matches the viewfinder.
I also stripped and started to reverse engineer the Instax chassis. I was considering using the Instax chassis, but I wanted to get the film plane as close to the true focus as possible, so all the extra plastic and space for the gear train pushed the film plane way out.
Version 3
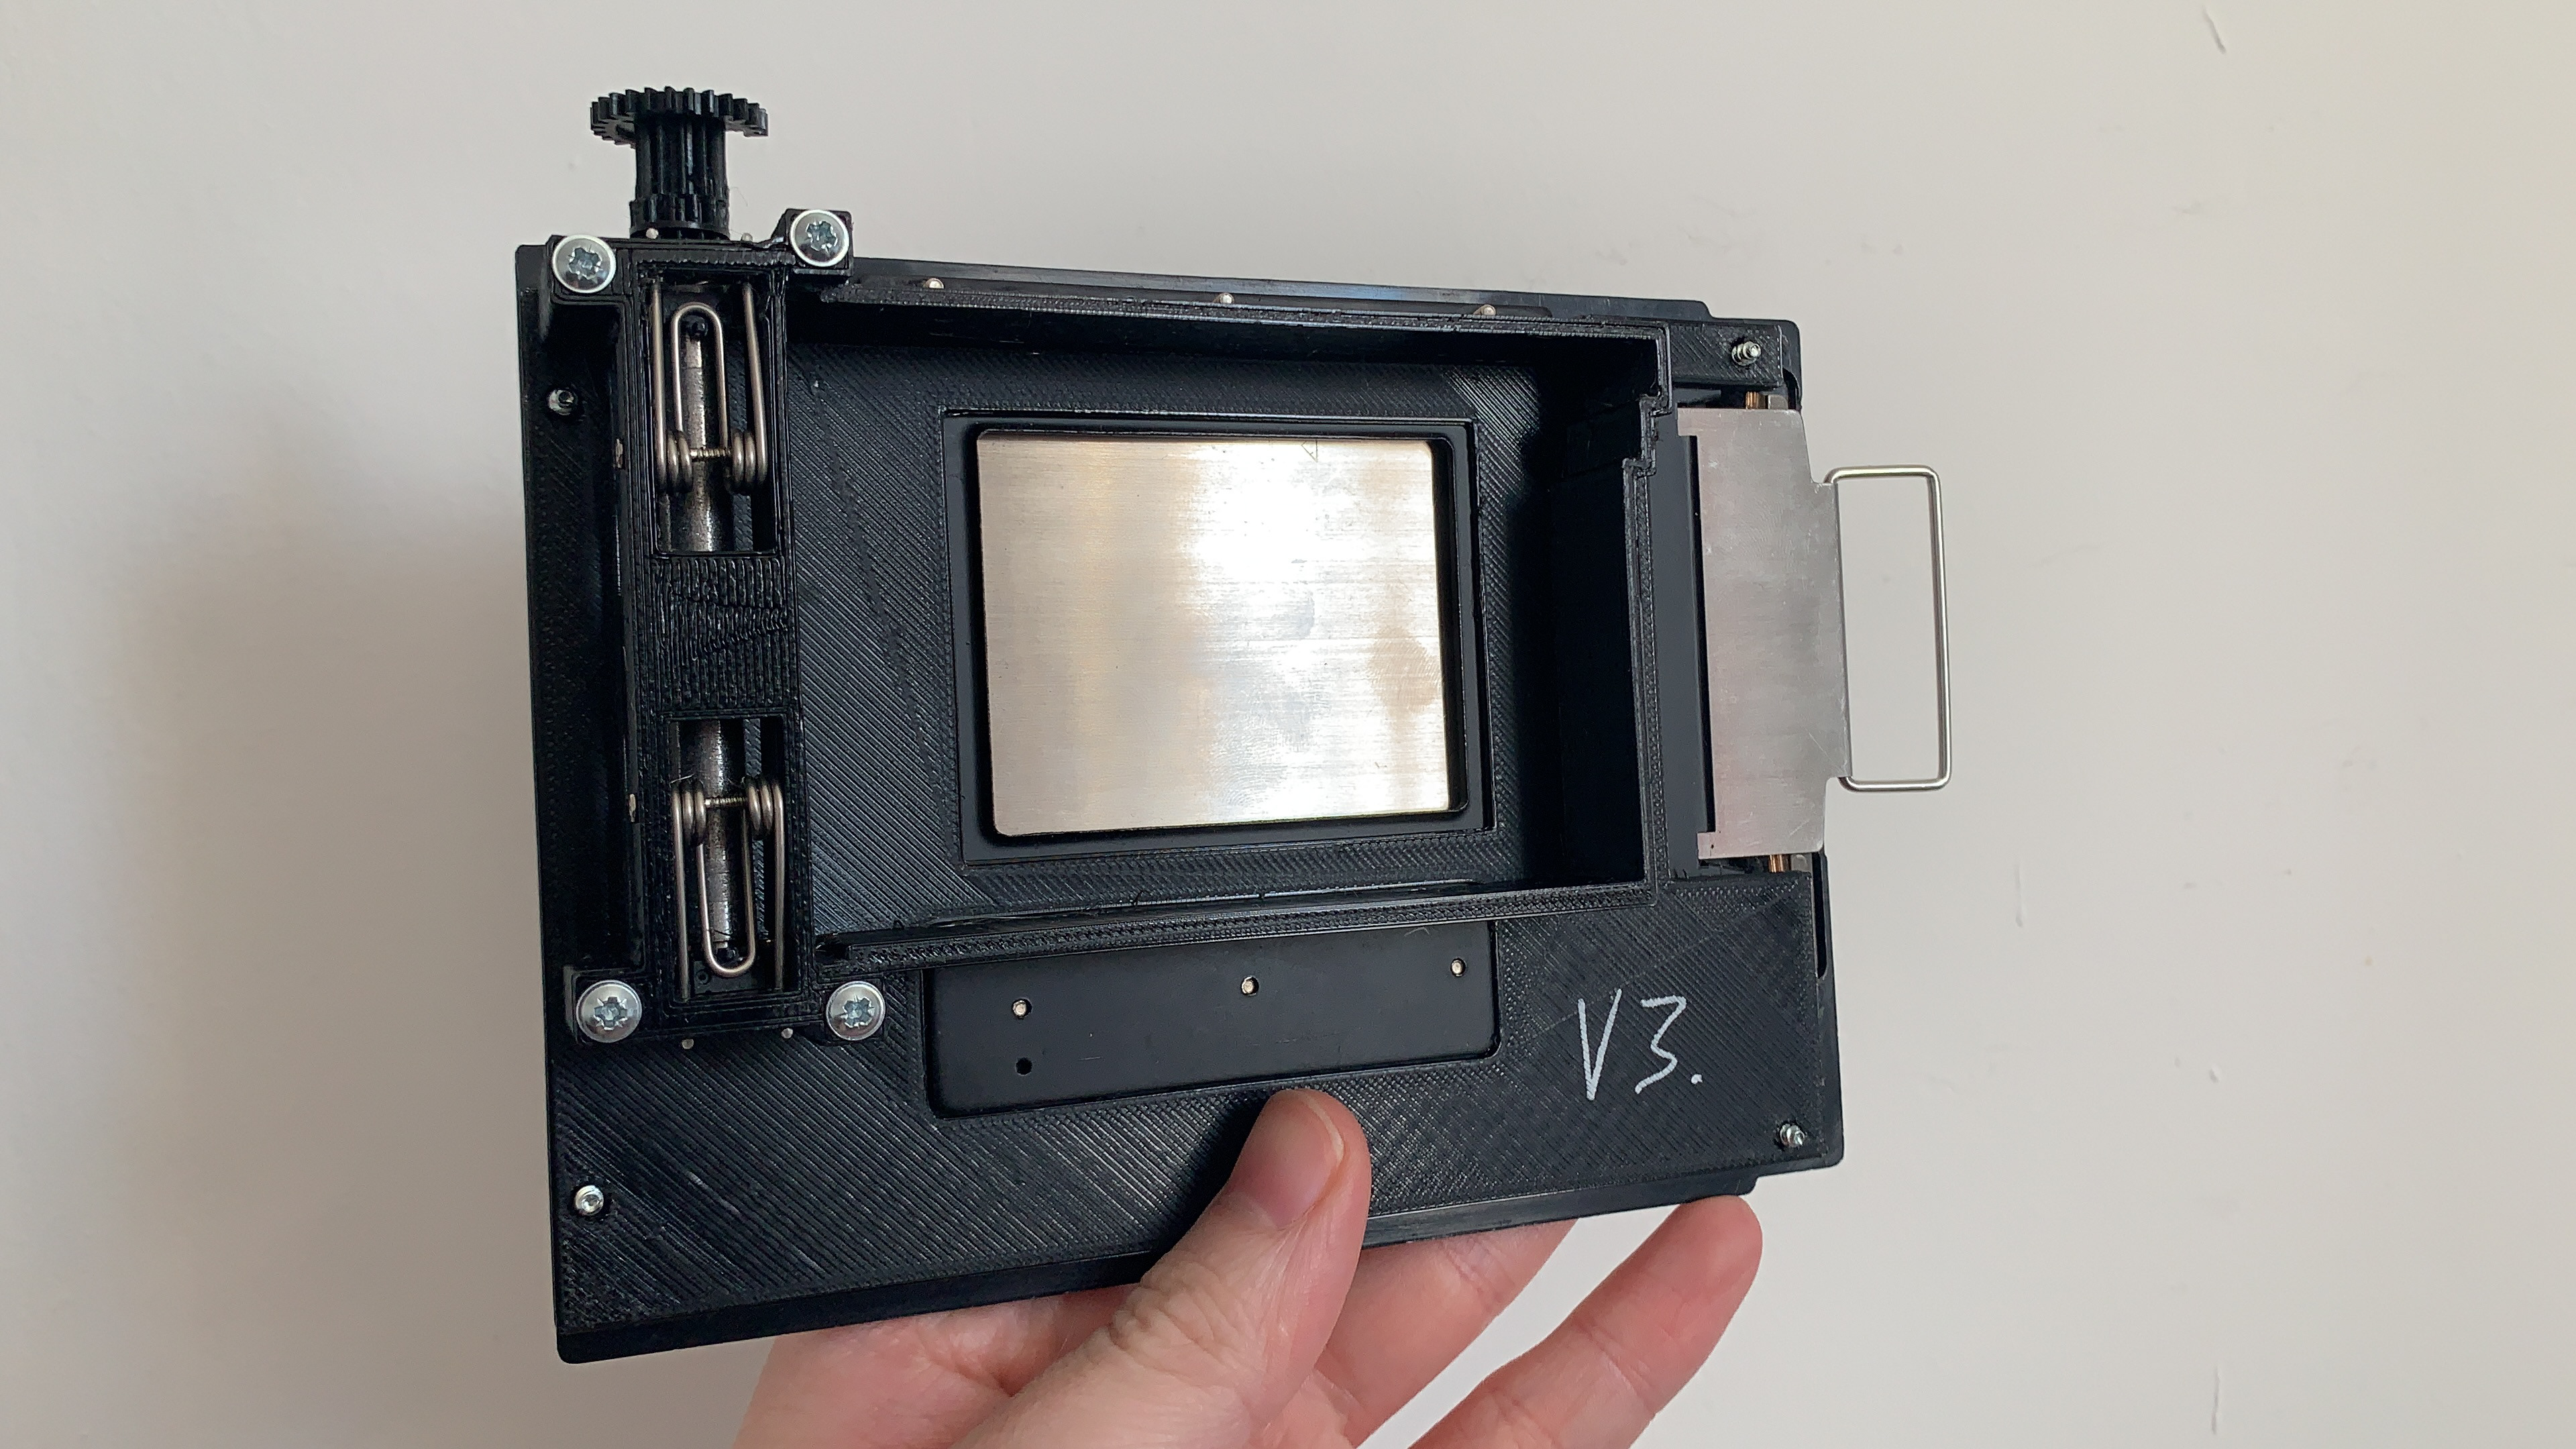
Version 3
V3 test fit
Roller pressure adjustment tests
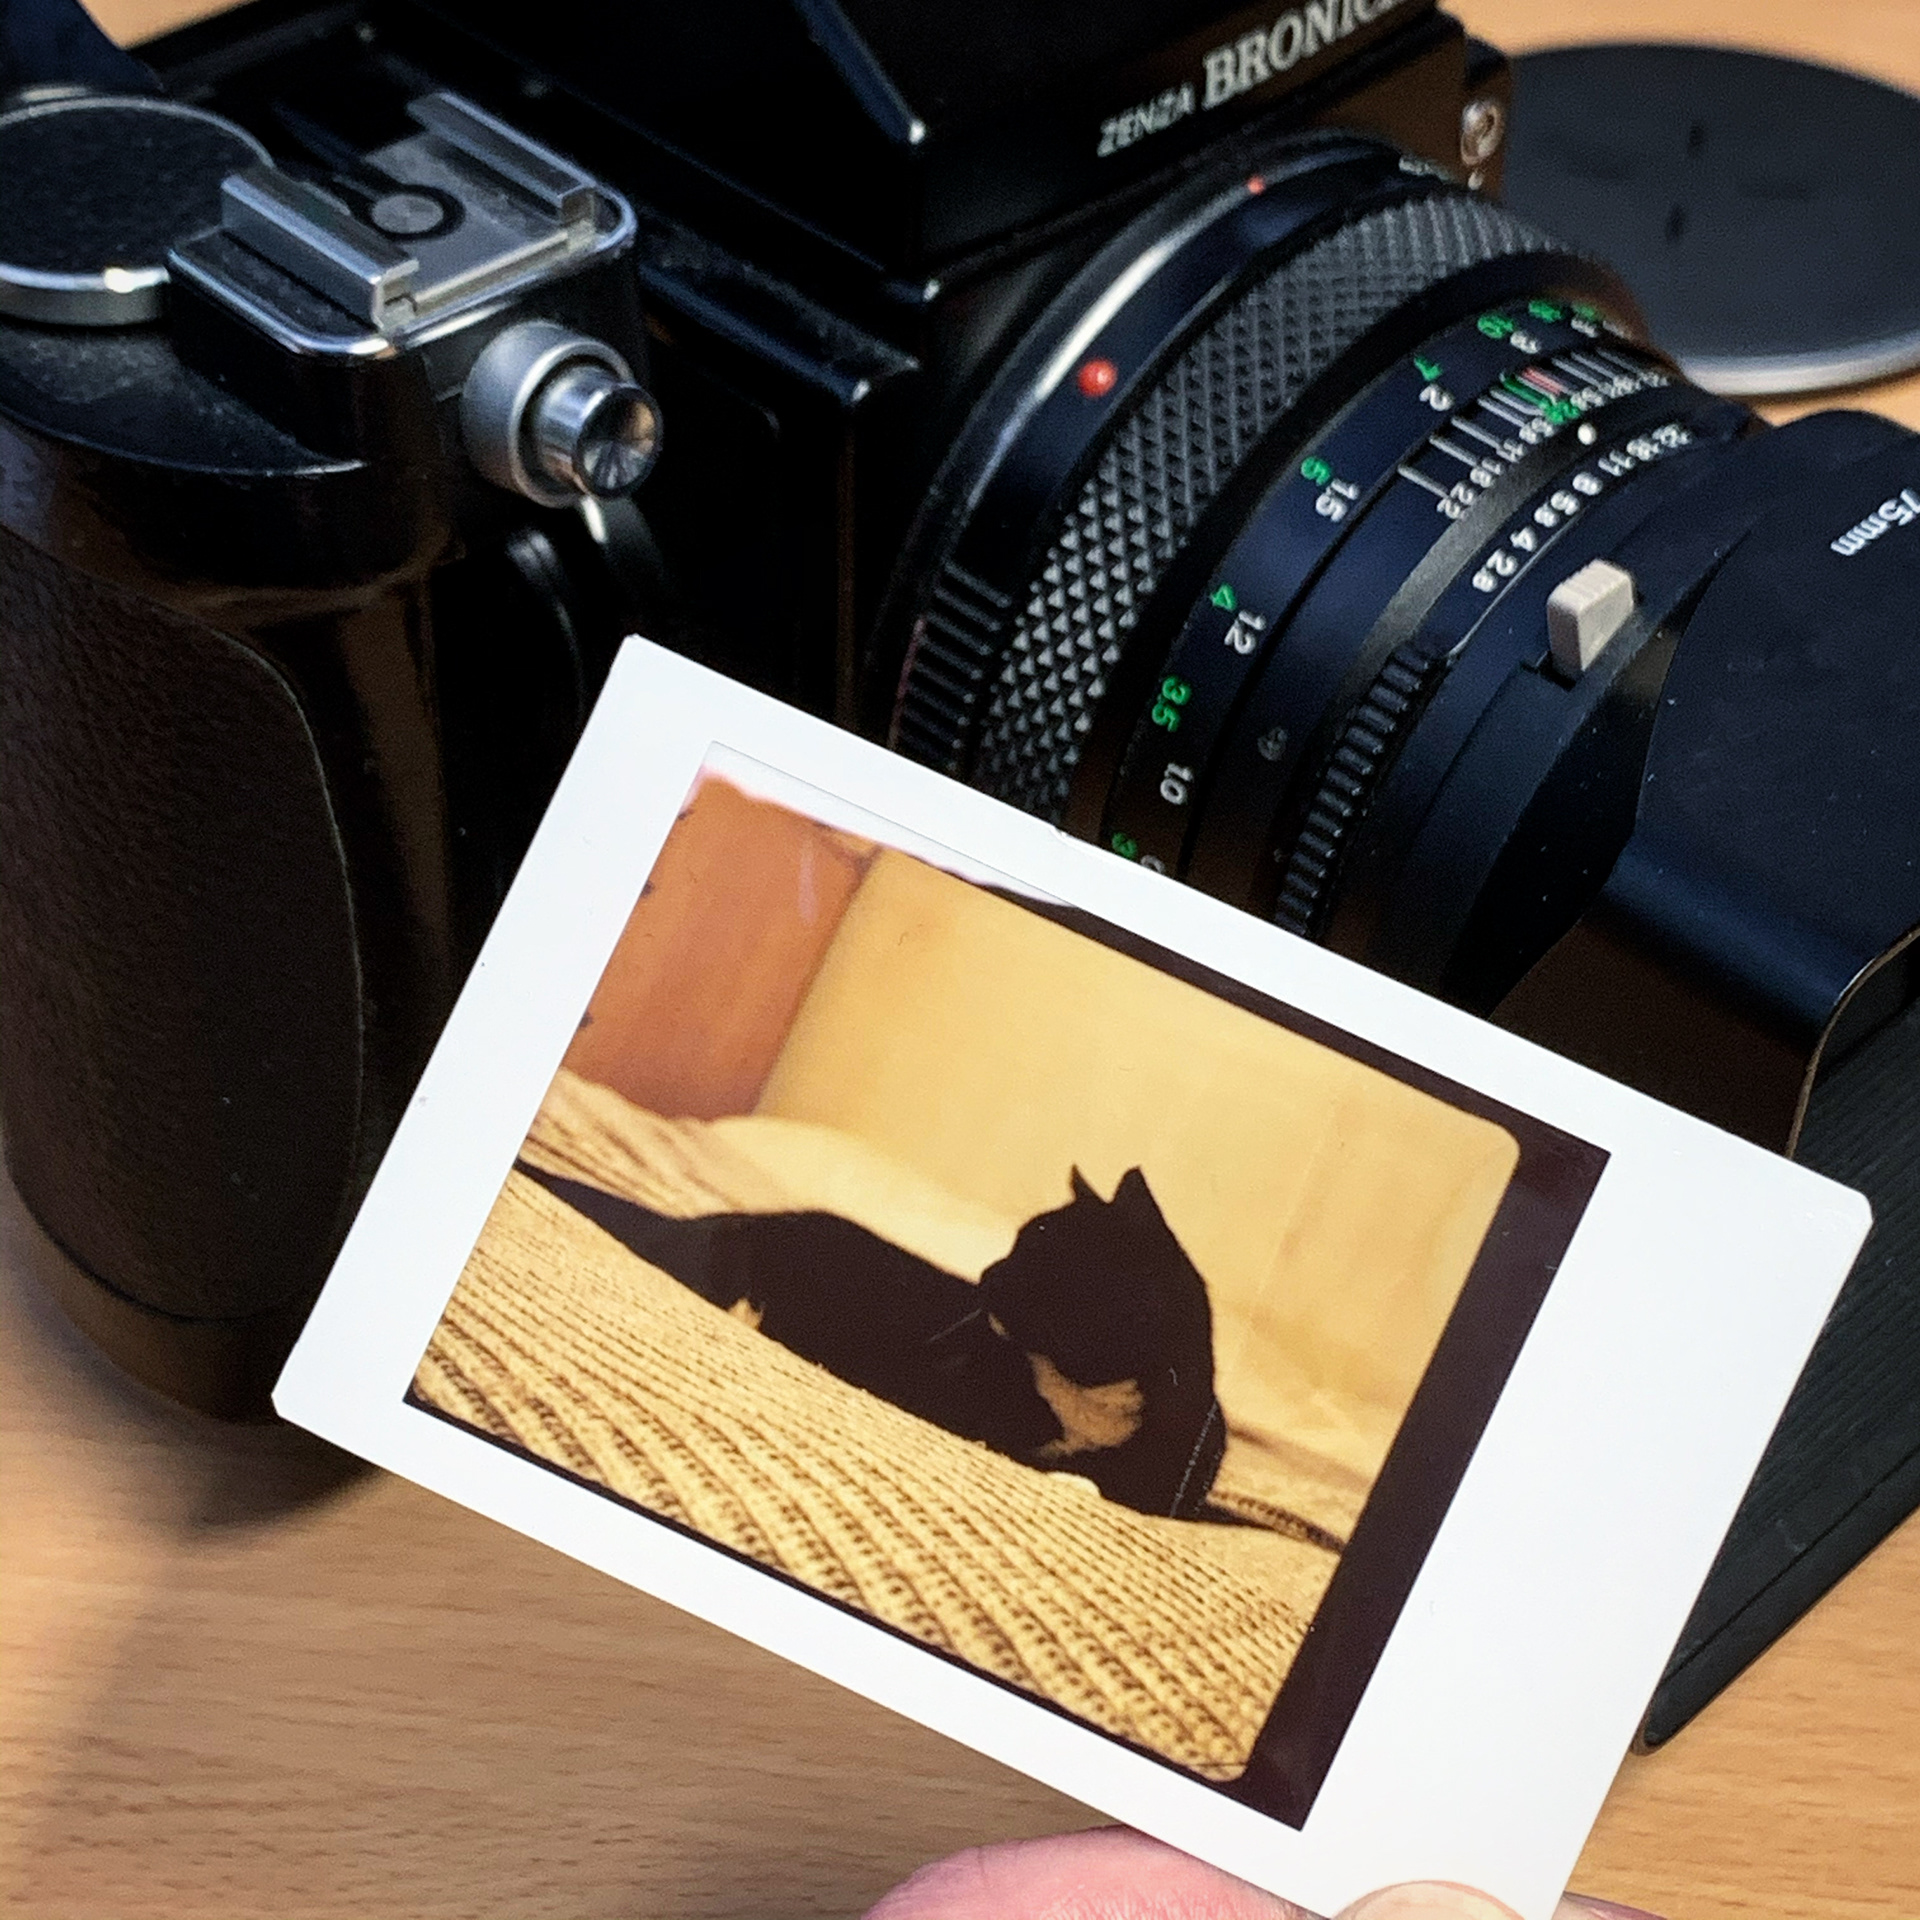
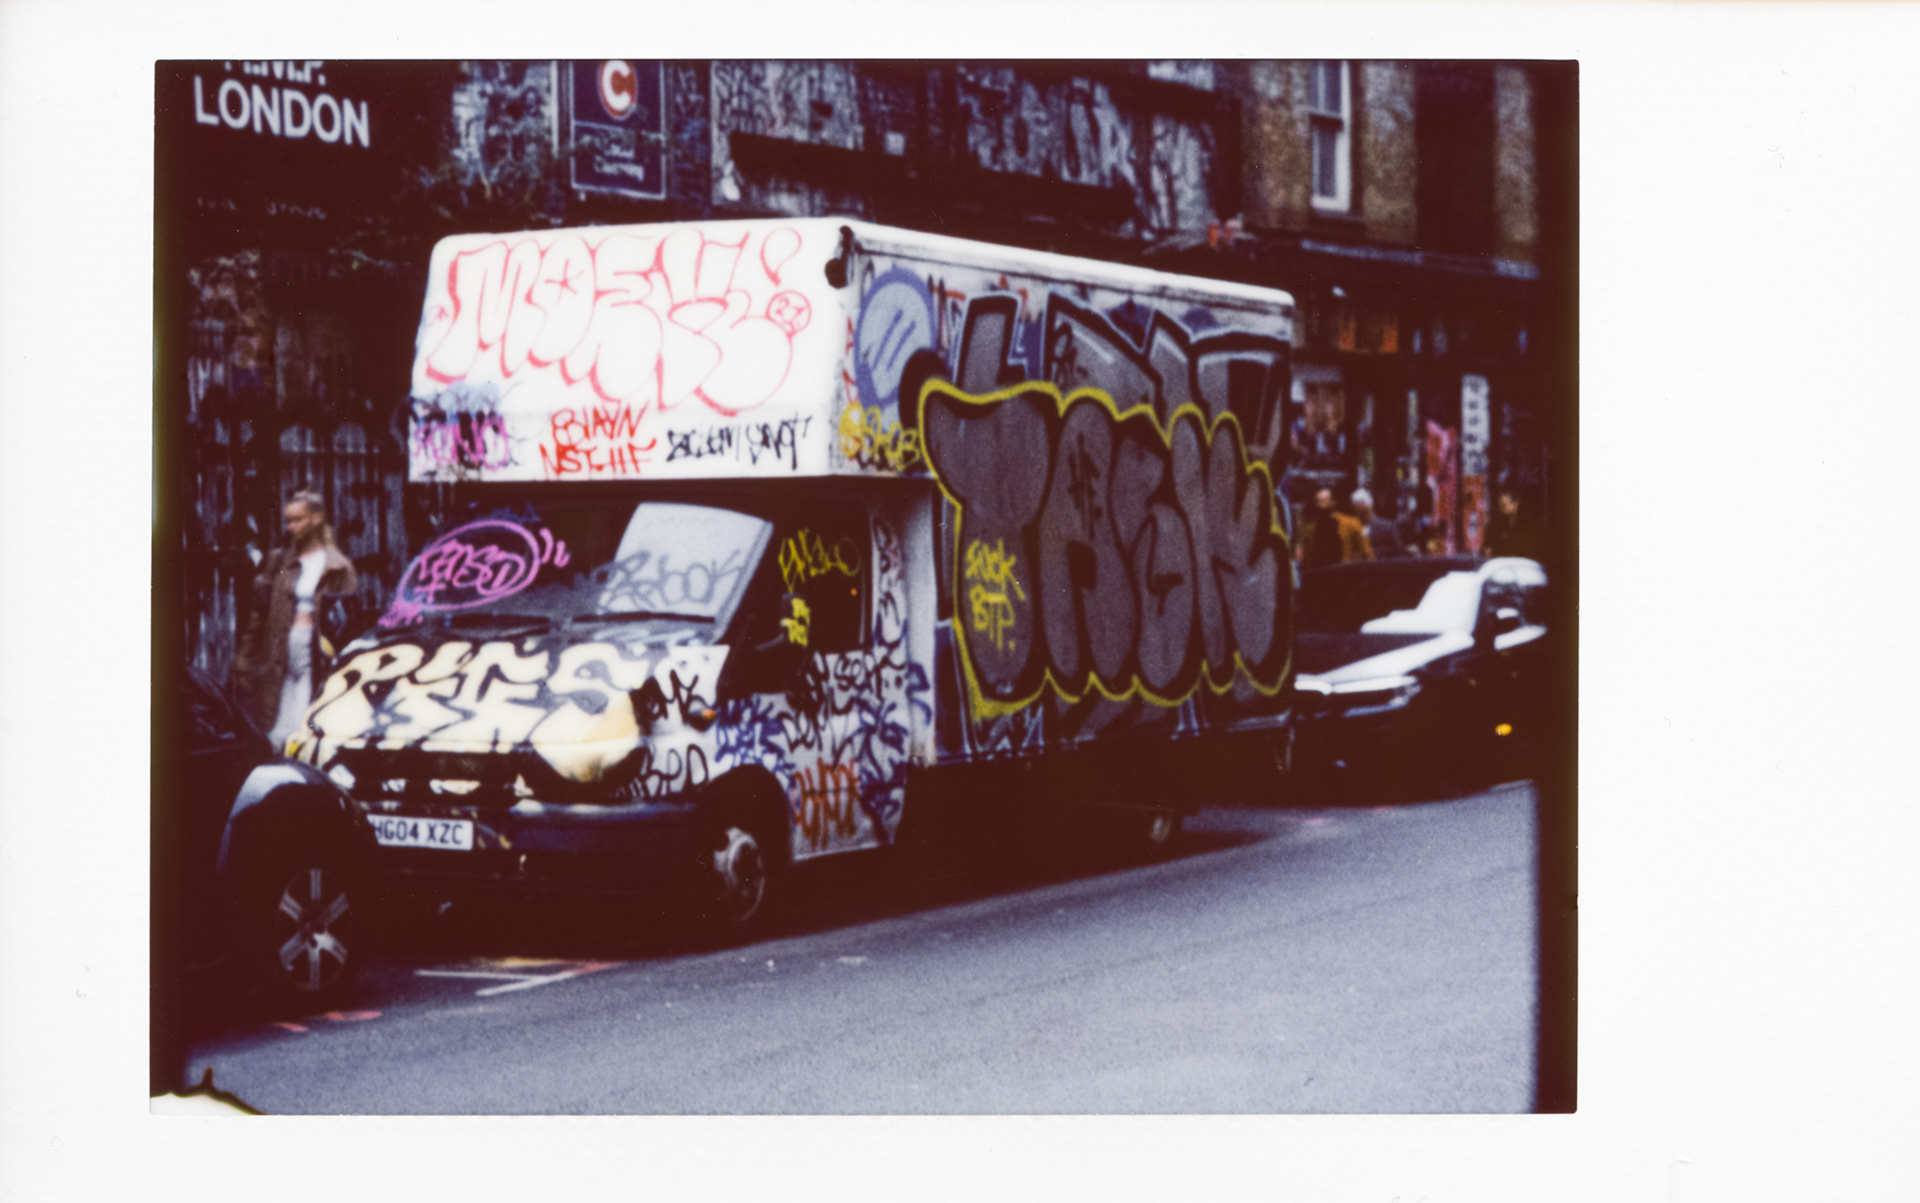
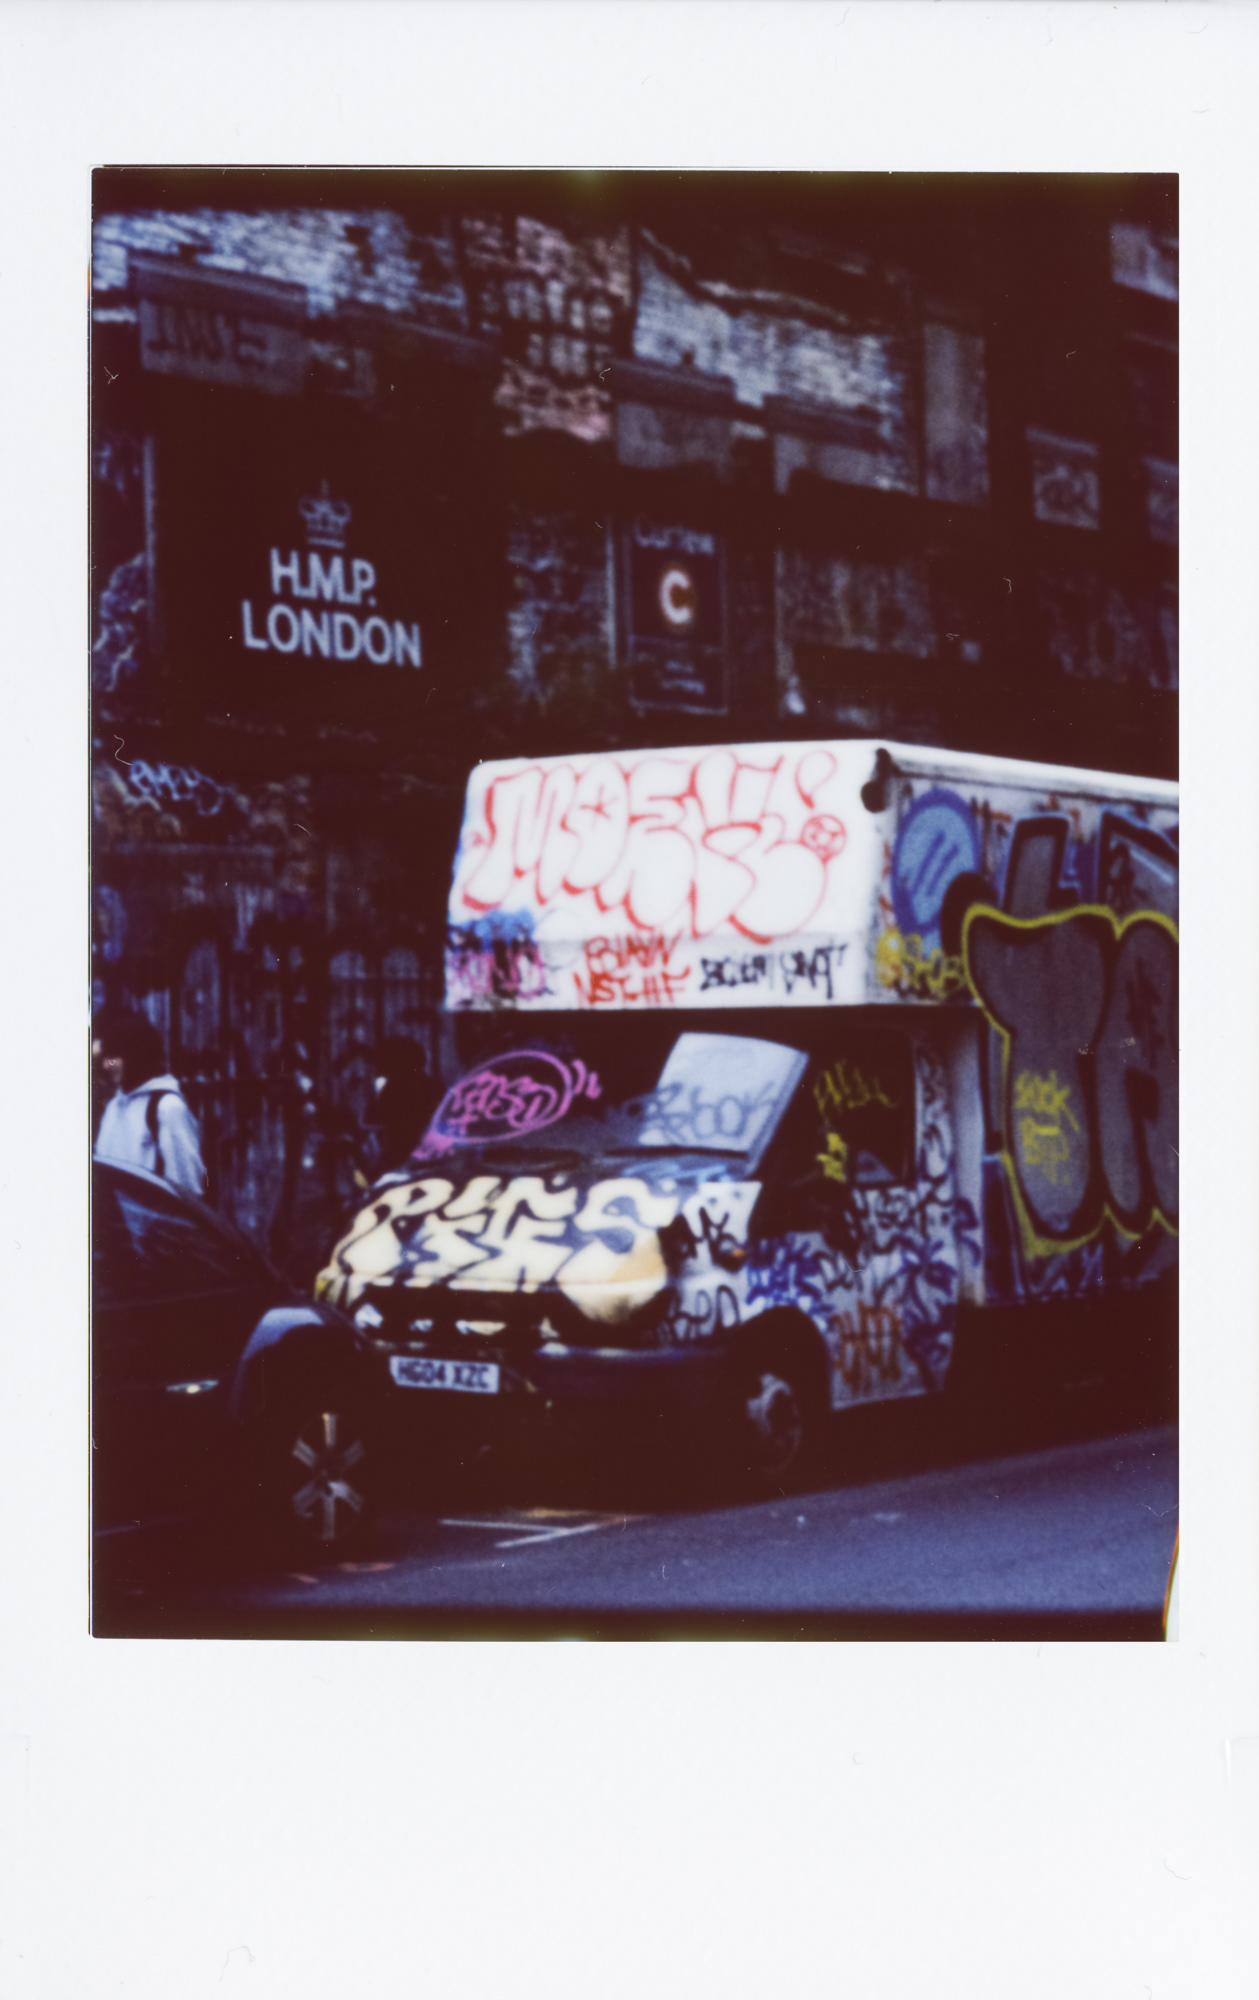
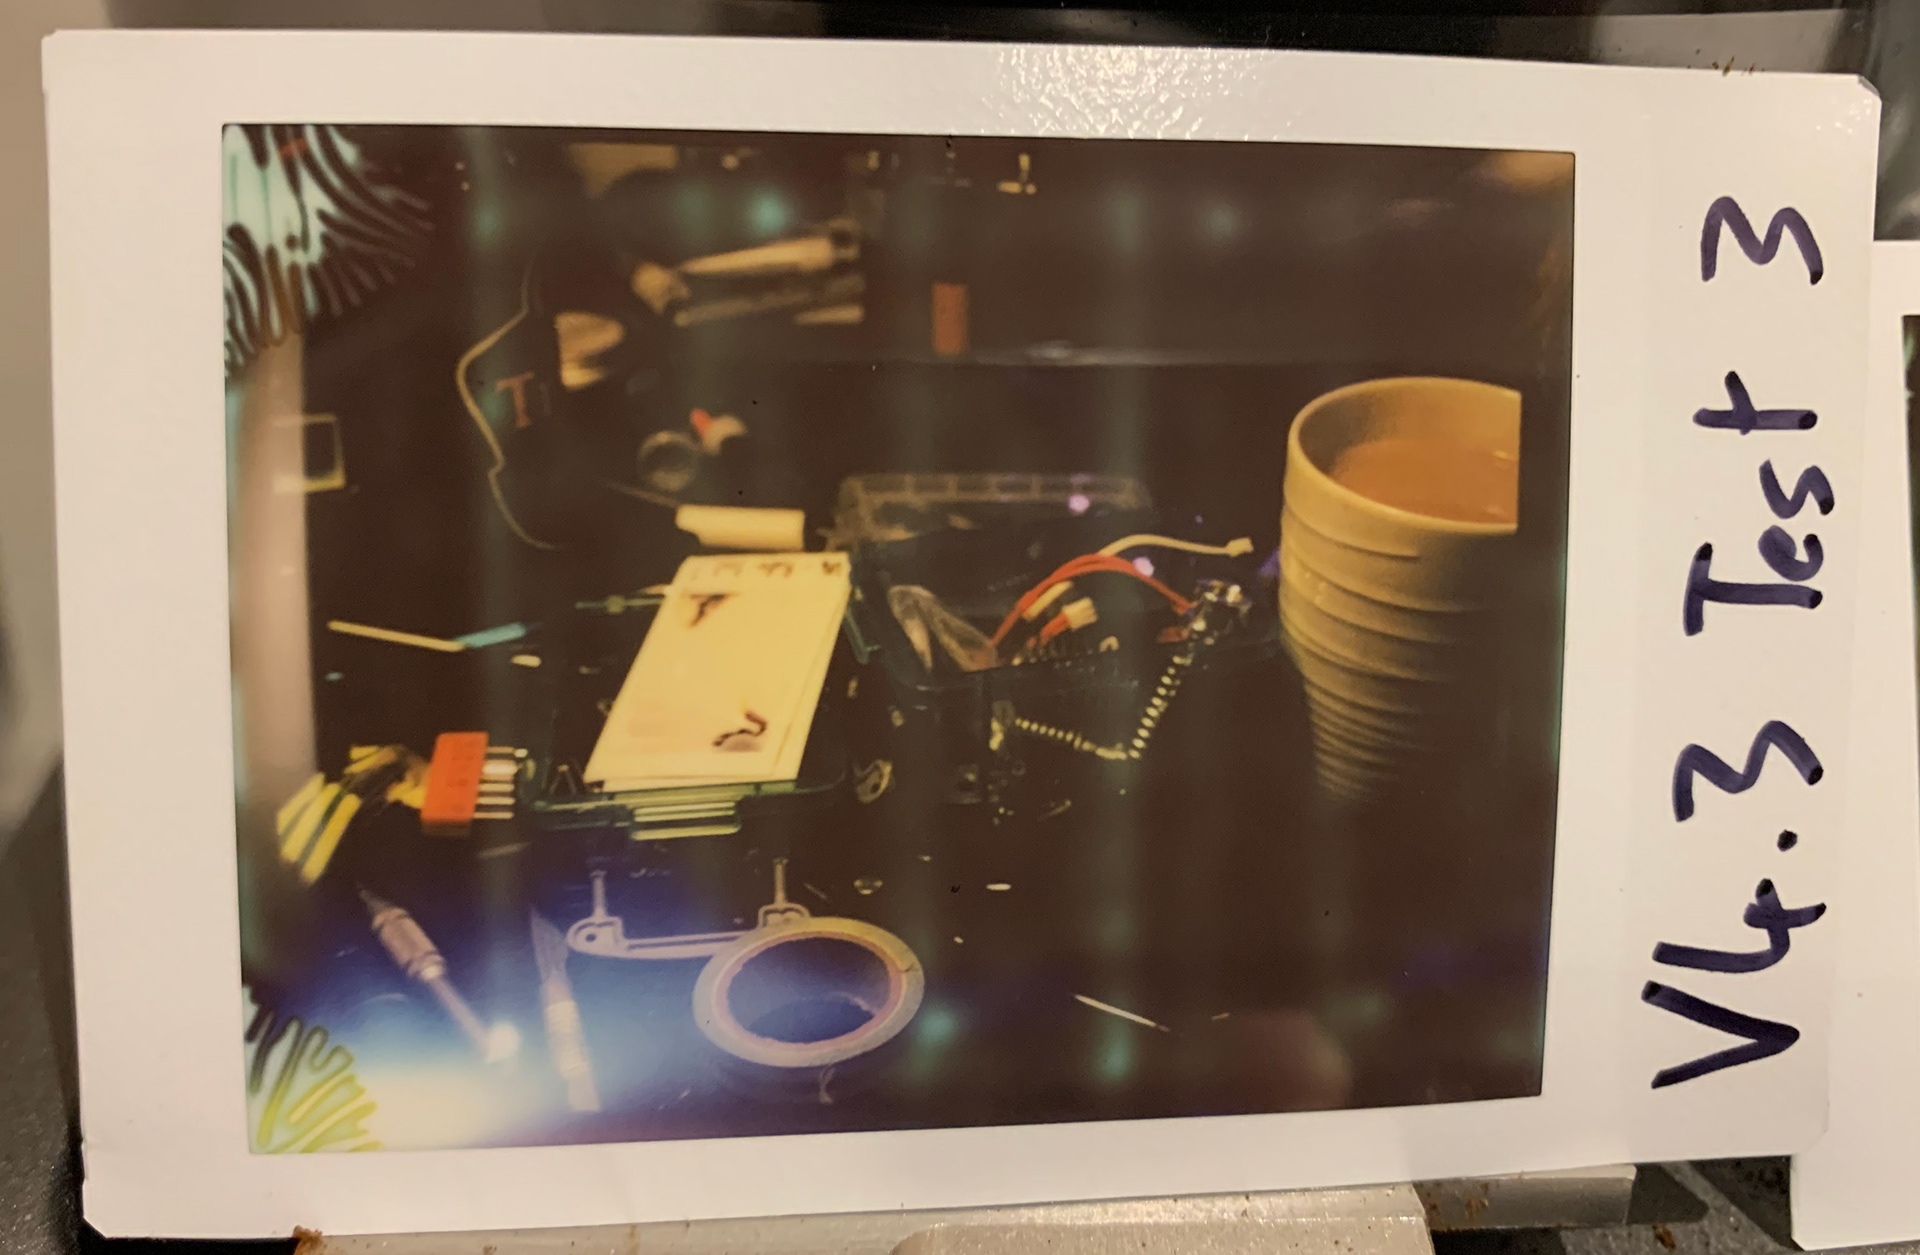
Result!
So moving past Version 1 (the stripped and dremeled chassis proof of concept) I started on Version 2 which focused on the Instax ejecting through the rollers in a 3D printed body. I pushed the rollers too far back and the film had trouble passing through, so I started fresh with a V3 design focusing on perfecting the rollers' distance and attaching to the polaroid film back. At this stage I was planning on using the original Instax metal slider. I also needed to get the spring force on the roller perfect. This challenge continued right up to V5!
I managed to take and process my first instant photo with Version 3, albeit with no slider (so being hand fed into the rollers) and fabric covering the rear to stop the light leaks. It wasn't pretty, but it worked.
Version 4

V4 fitted to the Bronica
V4 Testing - Slow manual rollers
Lines on film due to uneven rolling times
Following the success of V3 I moved to the next version, which featured a completely enclosed design and a transfer of the film to the rollers in the body.
The slider was the most troublesome component here, as the original metal slider was unable to be integrated so a 3D printable solution had to be created. It took a few iterations to get it complete and working, but once complete, a new issue came to light (pun intended).
During the roller process, the time it takes to readjust the grip and turn again (see above) left lines on the final photo. Time for a rethink for version 5.
Version 5

V5 Roller iteration - getting the pressure and fit just right
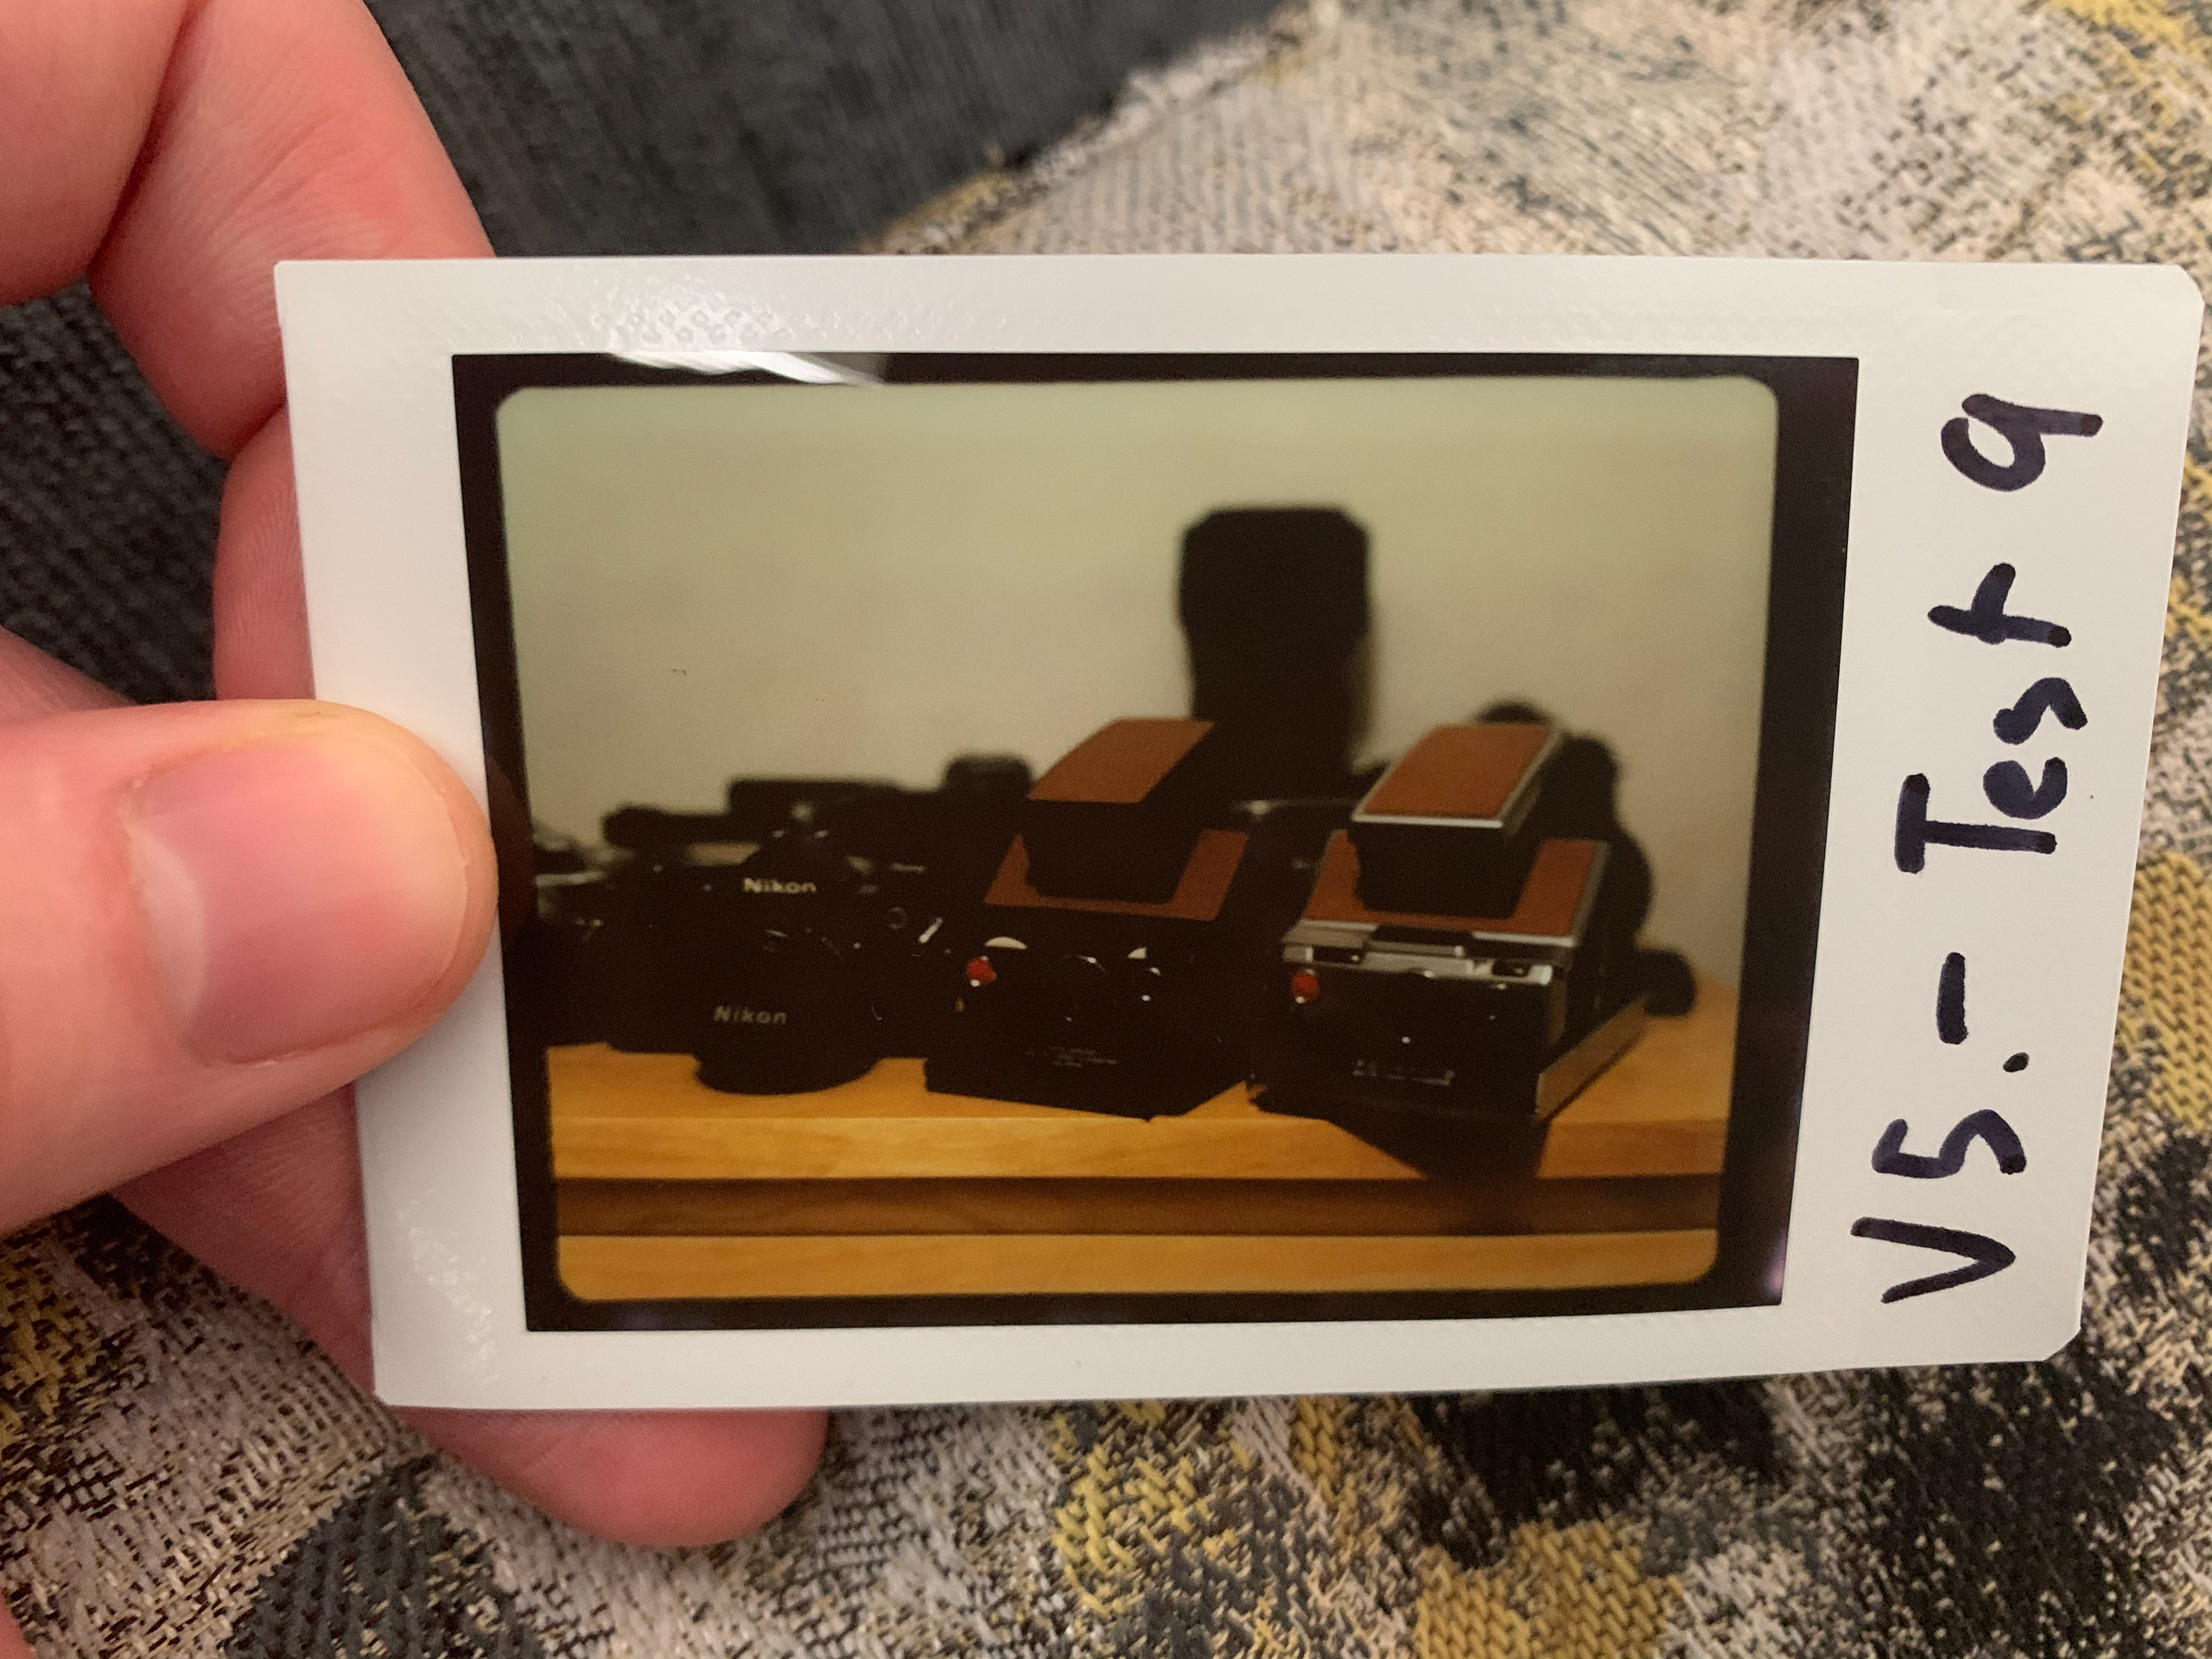
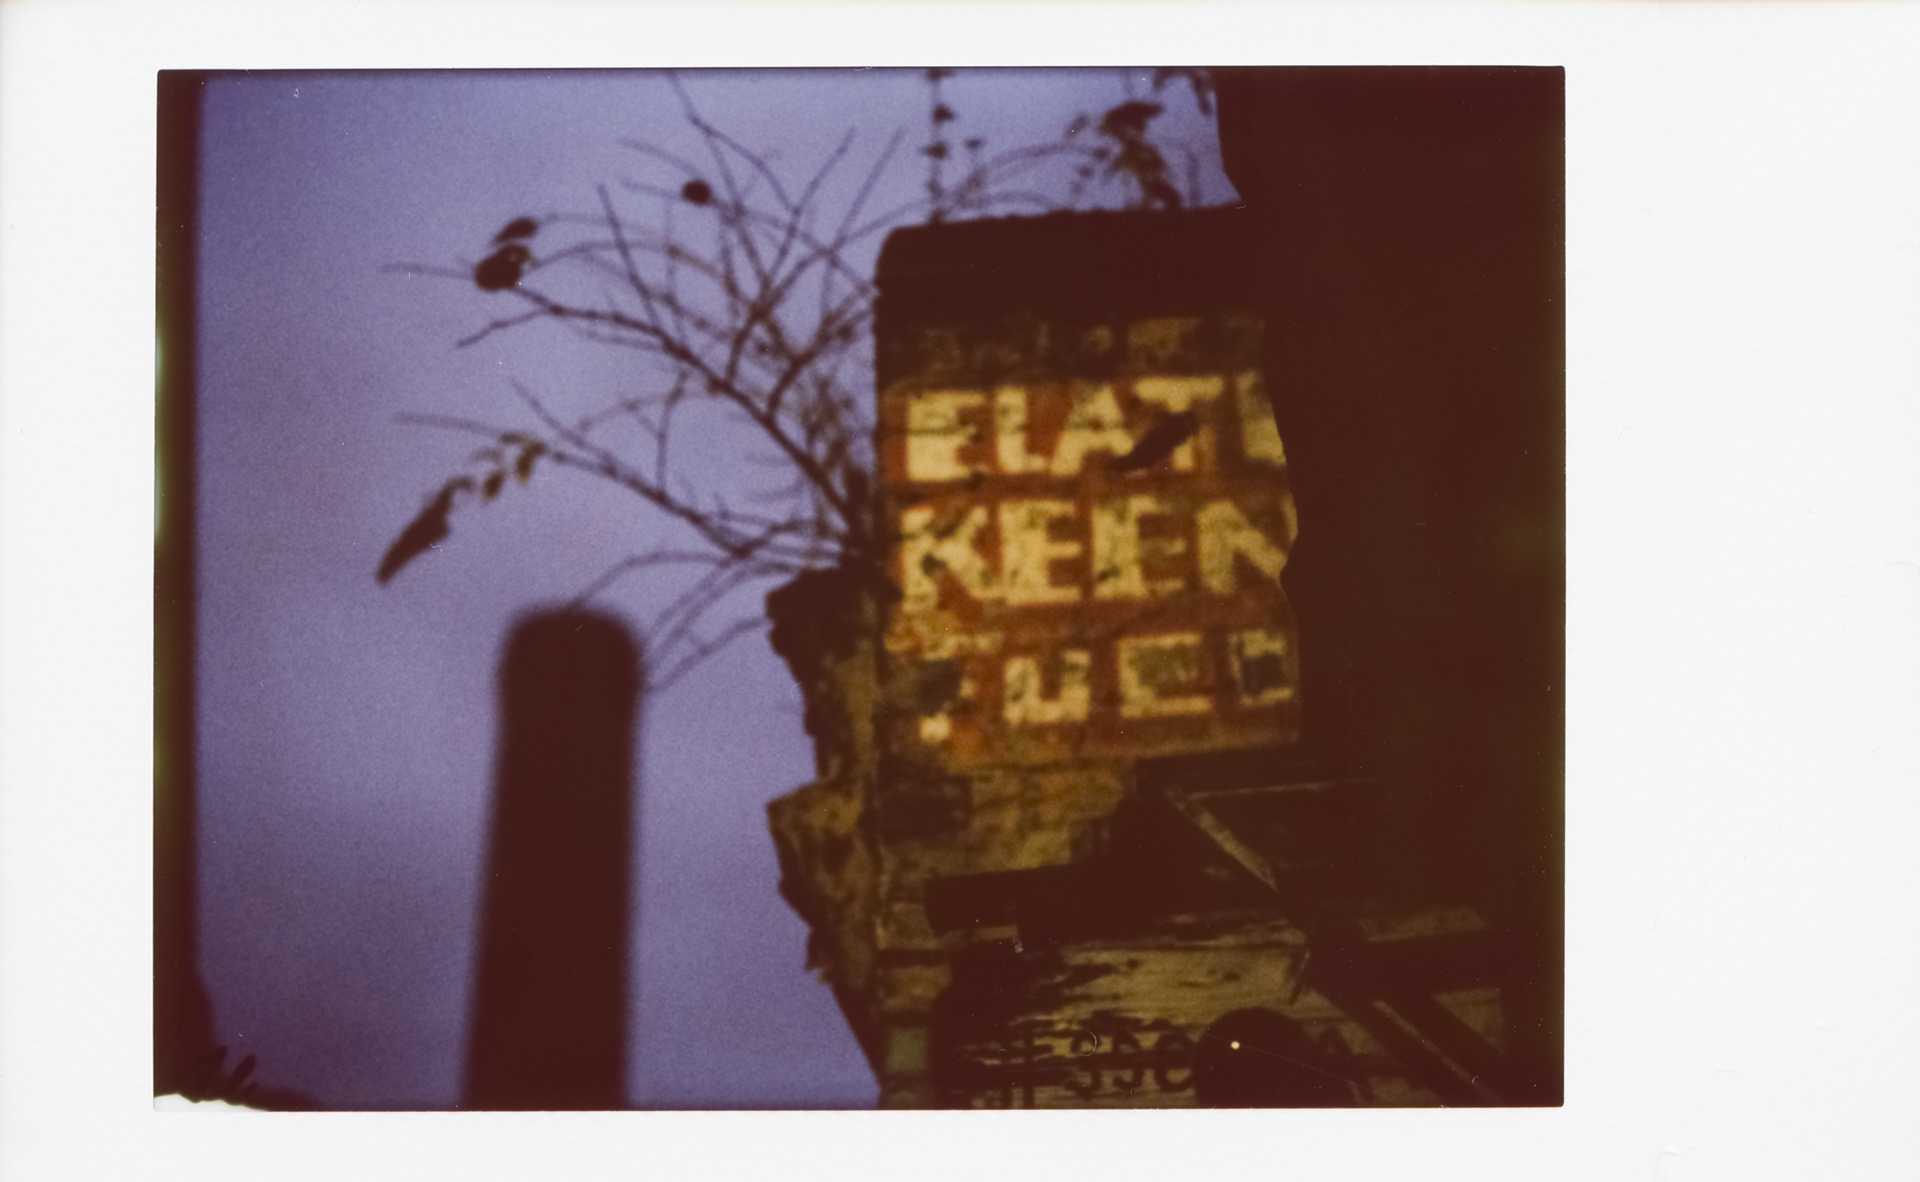
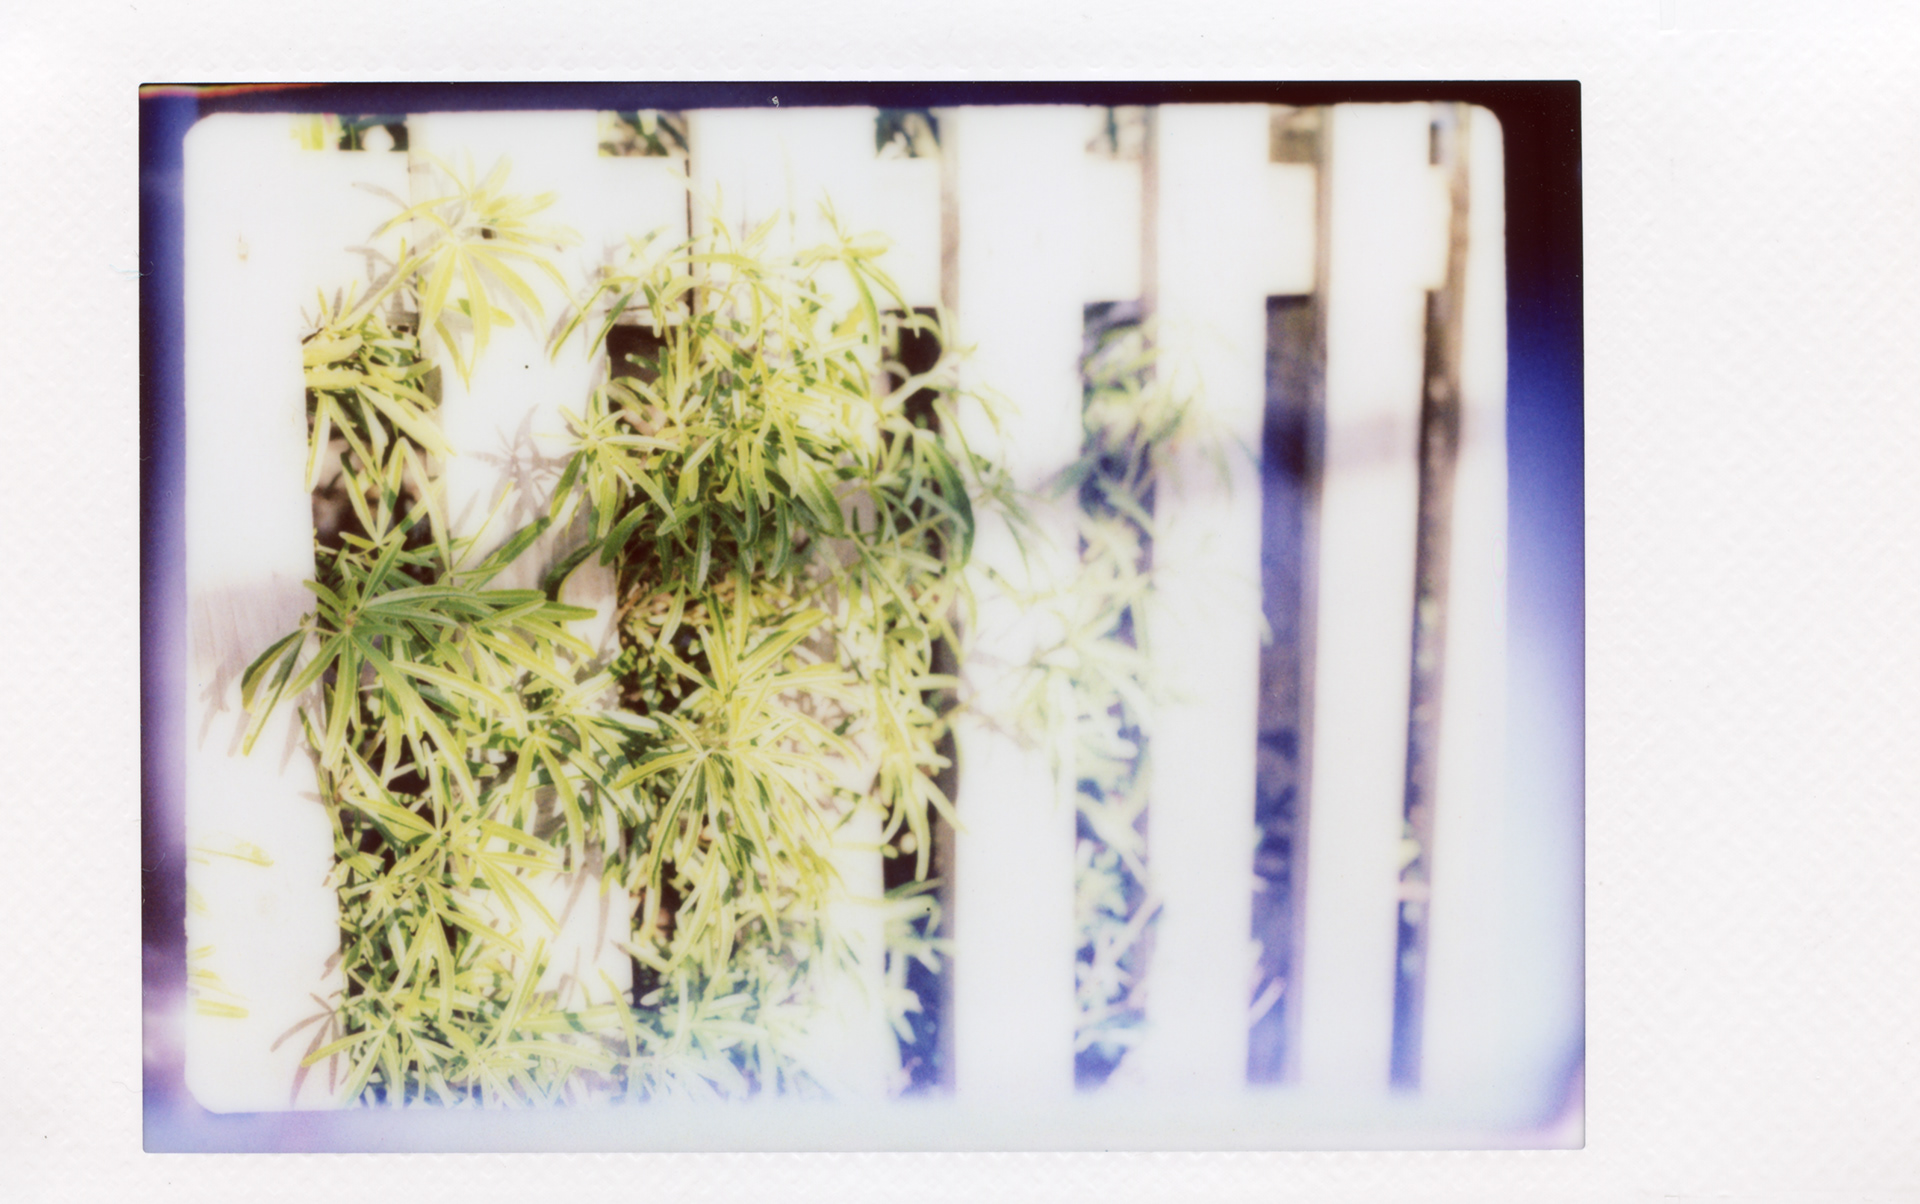
Test Shot - no light leak!
I saw two options - add a crank handle (limited space) or a complete redo with a motor. I went for the motor. I now had to flip the rollers which messed with all my positioning. So to speed this section up, I 3D printed multiple roller sections, made slight adjustments and tested until I was happy (above left).
I was able to use the dead space at the bottom for all the electronics, and although I had the leftover gear train from the Instax Mini 9, I didn't have the room for them and opted for a gearbox driven motor.
The slider also had a redesign. It was now sprung, placed at the top and no longer suffered the light leak from the V4. The roller button was carefully placed in the best location to ensure a firm grip while operating the slider to reduce awkward handling.
Version 5 complete design writeup coming soon